My sweetheart's birthday was last week and as is our custom, we did it up.:) Celebrating birthdays has always been a big deal to me. I love to fuss over those I love on their day of birth, whether they like it or not! Since having kids our birthday celebrations have changed quite a bit! For my birthday earlier this summer we went to the National Zoo....it was actually a blast, though I would have never thought of going there if we didn't have 3 tots in toe.

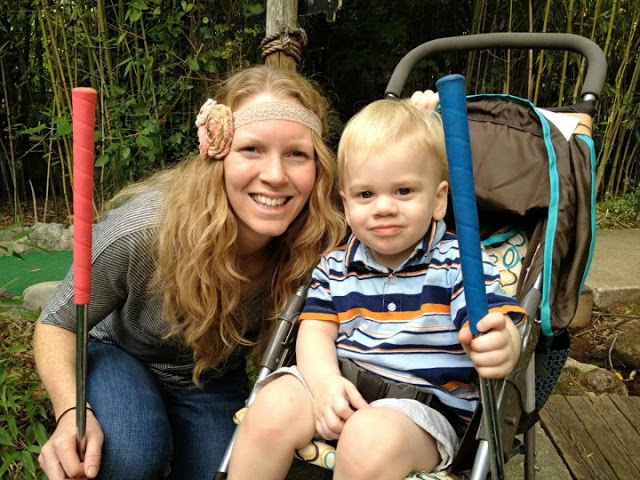
So for Matt's birthday I tried to think of what he would enjoy doing, but that the kids could enjoy with us, too....GOLF! So, to Woody's putt-putt we went!
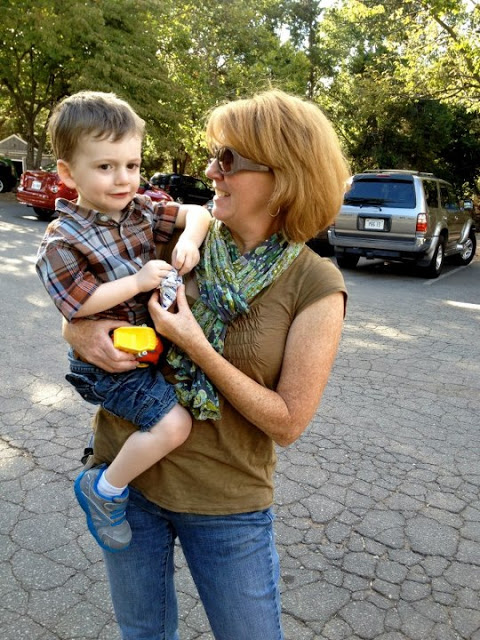
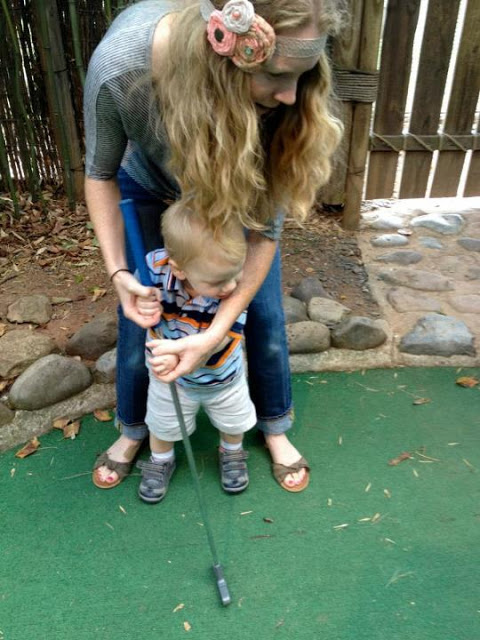
 Woody's is in Sterling and is the best putt-putt course we've ever played - though scary as all get out, especially if you're a toddler with a wild imagination! So, the twins played with Noanie, (my Mom!), by the driving range...or behind it, rather...where it's safe ;)


Do you have any birthday traditions? What is your favorite way to celebrate?
~Chelsea
So for Matt's birthday I tried to think of what he would enjoy doing, but that the kids could enjoy with us, too....GOLF! So, to Woody's putt-putt we went!
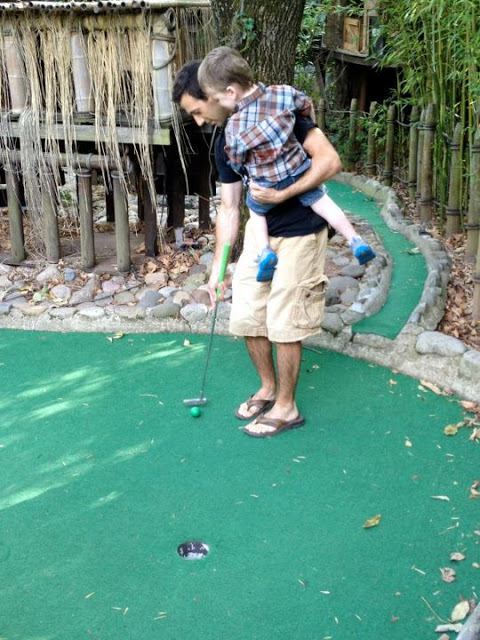
Impressive multi-tasking!
Noanie to the rescue!
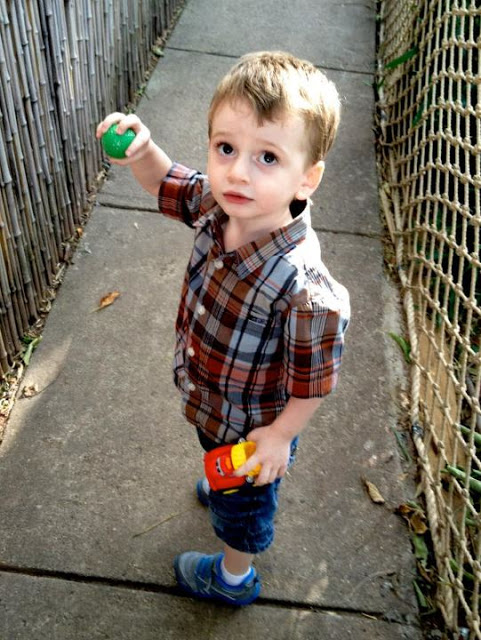
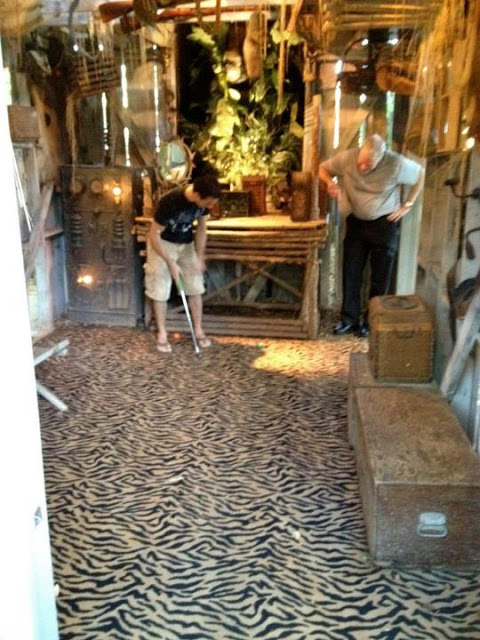
Meanwhile this guy hardly noticed the the dead monkies hanging from the trees or the pig-monster jumping out of the brush with loud snarls, or the crazy realistic looking crockodile coming out of the water towards the putting green....
...he just had a good ol' time, in true Mason form.
The face of true innocence and total mischief. He's complex ;)
Birthday boy with my Dad; must have had another ***lucky*** shot.
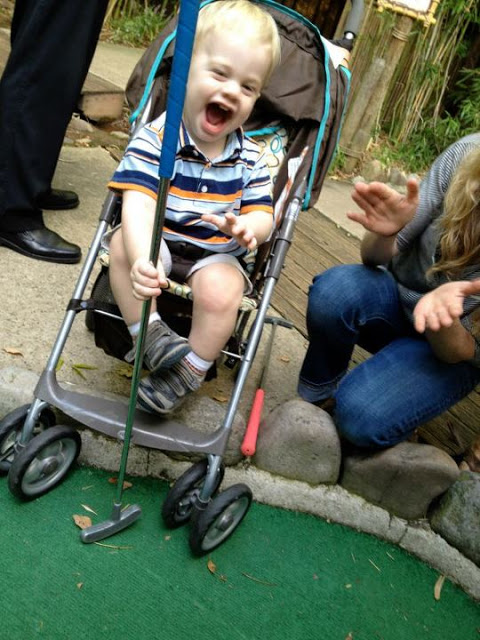
The boys, analyzing a tricky hole
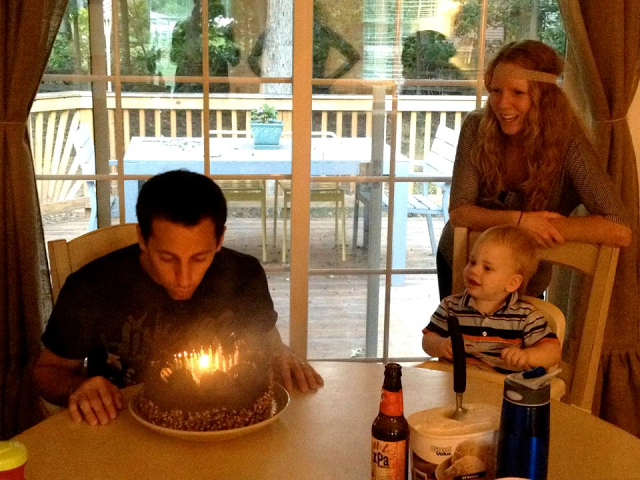
Post game birthday meal!
Complete with chocolate-chocolate, (chocolate, chocolate, chocolate) cake.
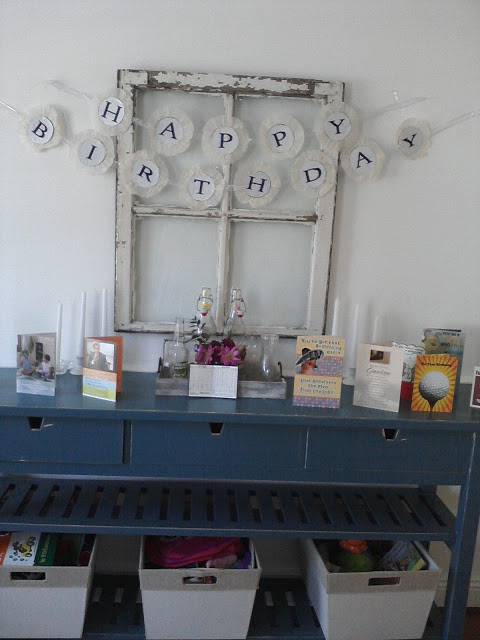
And no birthday in our home is complete without the honorary 'birthday' banner that I made a few years ago. I love pulling this out for all family birthdays...I'm sure they will grow tired of it eventually, but it's fun hanging it up to mark each person's birthday week. And as always, birthday cards become part of our decor for a little while, which I cherish.
Thanks, Dad, for your Bud Light addition to my glass vase display. Didn't think I'd notice, did you :)
Do you have any birthday traditions? What is your favorite way to celebrate?
~Chelsea