Shop Talk: Qs and As on Chalk Paint + A Fresh Finished Pair

Hi Friends! Goodness me has summer sizzled and fizzled already?! I spent the end of last week and this past weekend getting all back to school shopping done! Our twins start kindergarten in a month so this was our first time in the back to school chaos. My. Word. No need to exercise after THAT task! I didn't realize it's like a contact sport!

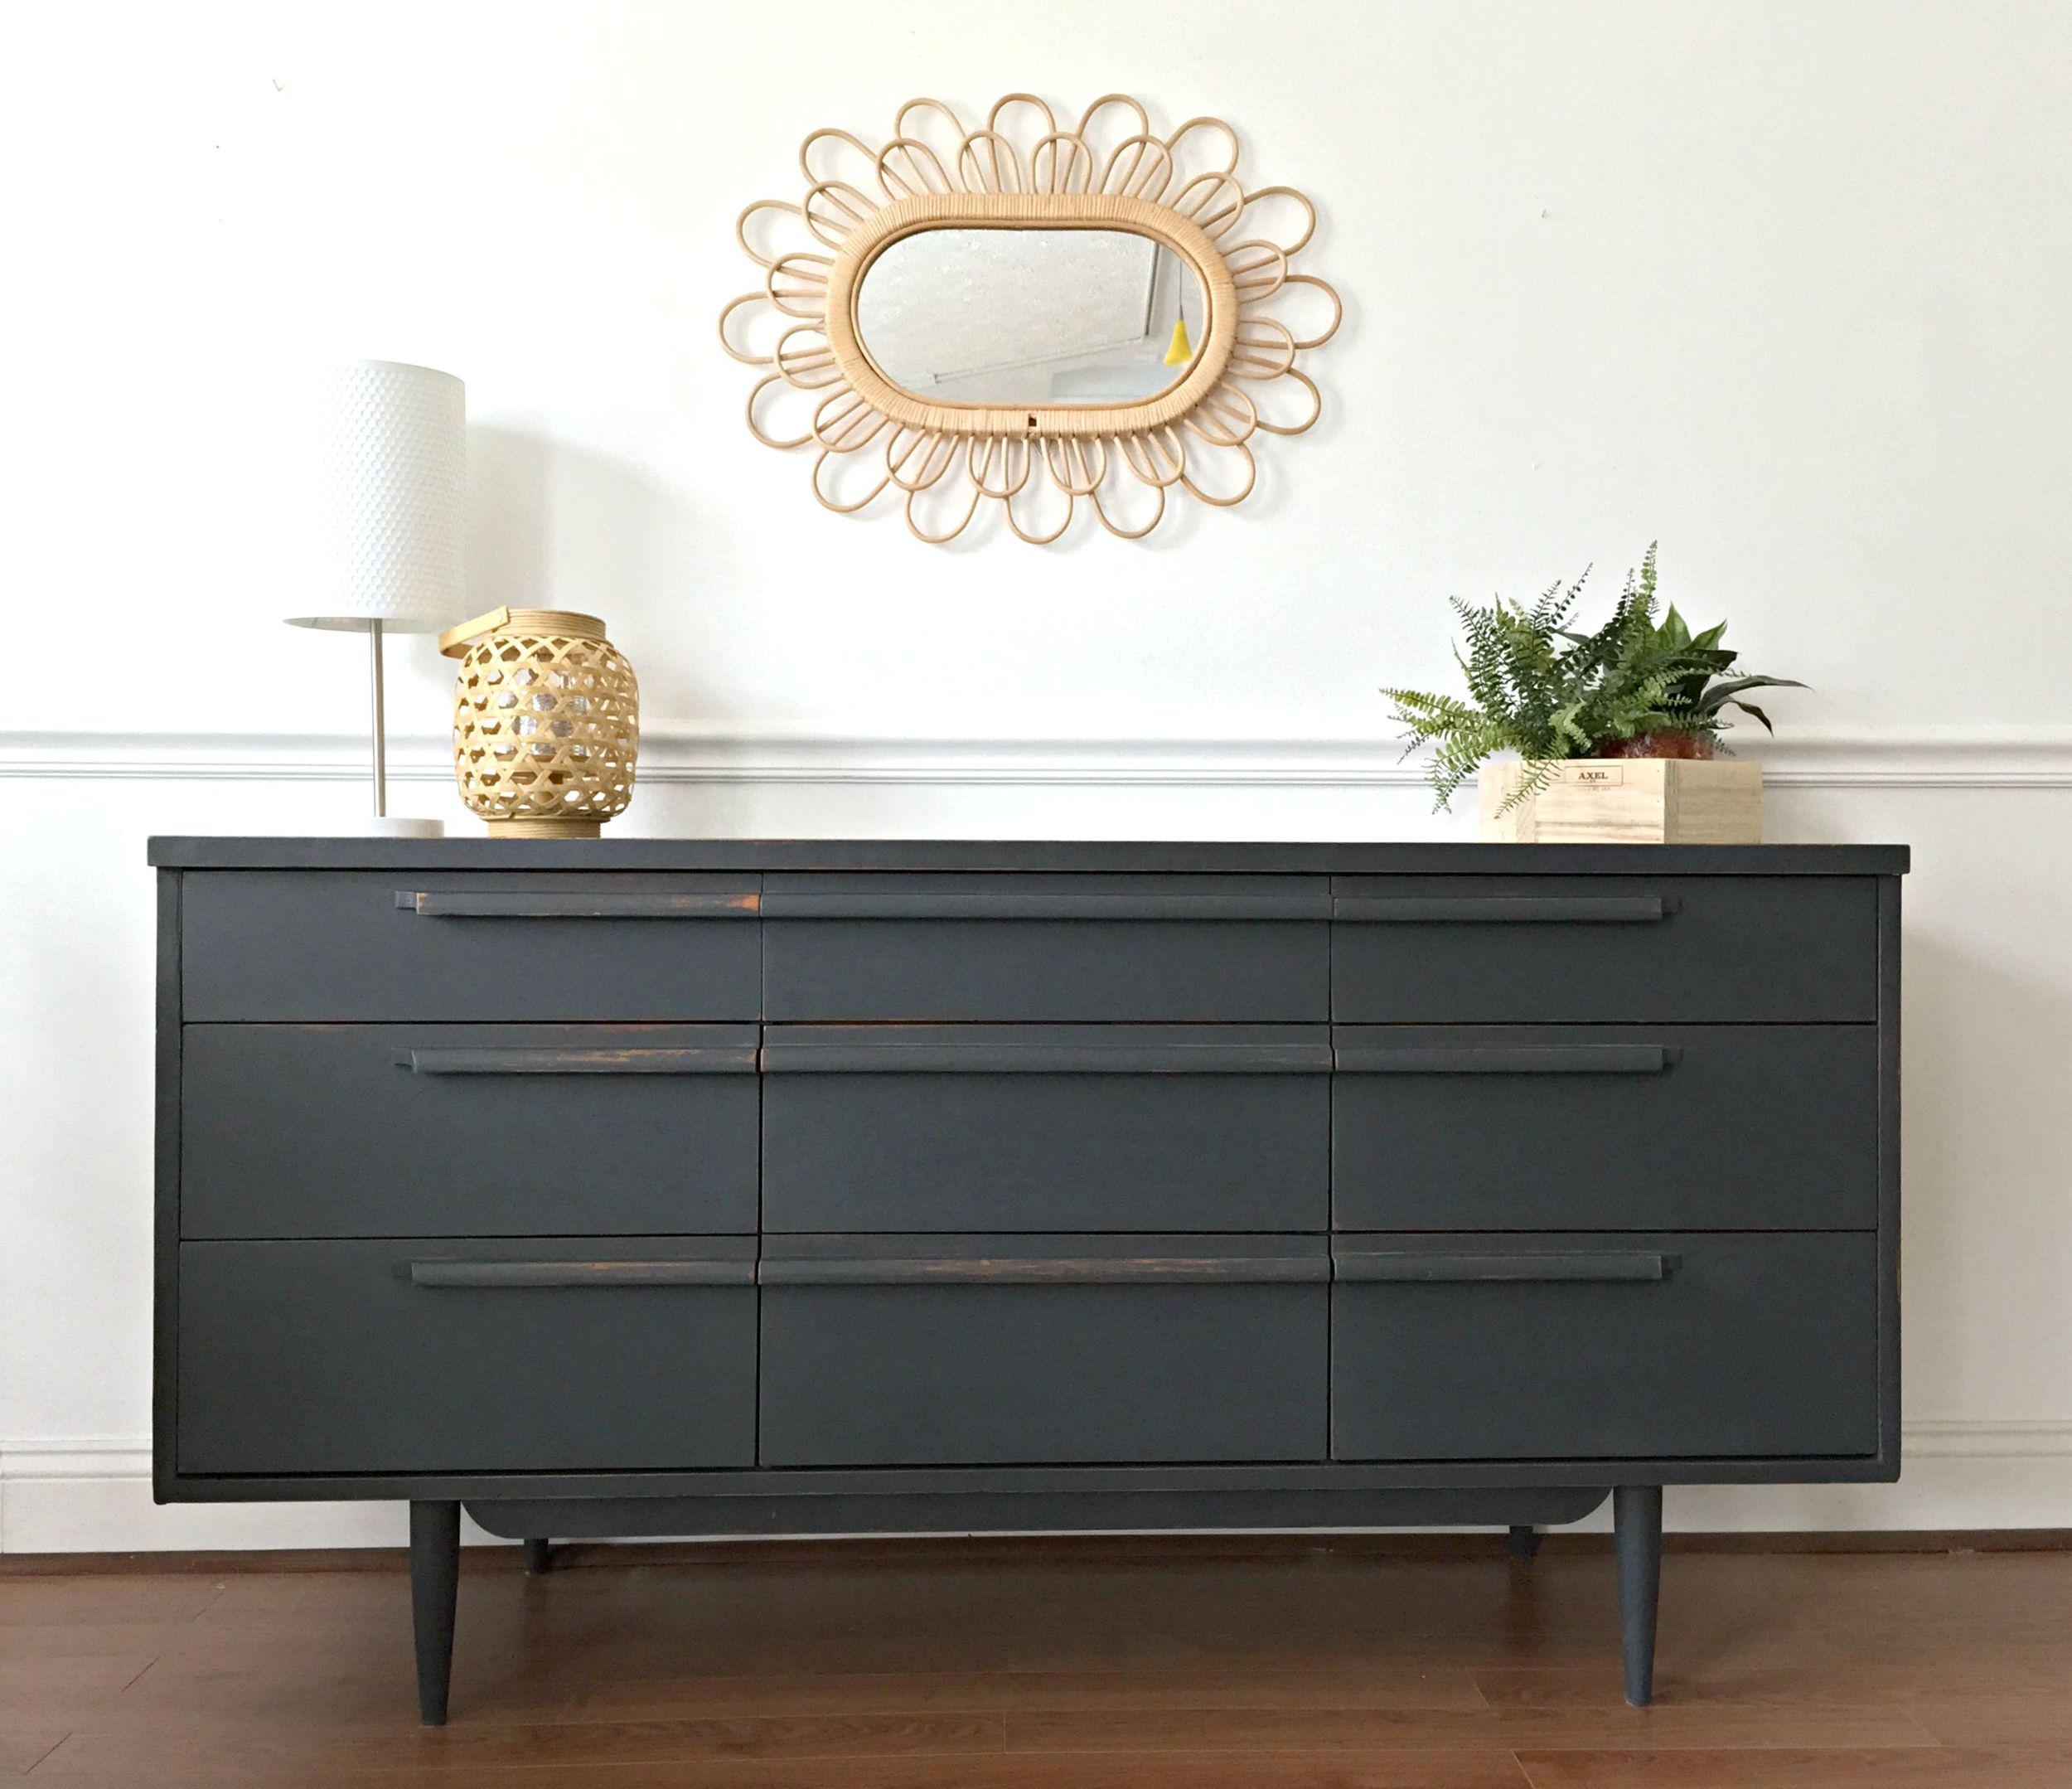
On a brighter note, I got a sweet little pair refinished and ready for the Sweet Clover Barn sale that we're hoppin' in on August 21-23!

mcm graphite 4.jpg

The warm wood peeking through is the real diva here, isn't it!? SUCH a stunning contrast.

Not to be outdone by it's larger counterpart, this little nightstand / side table is lookin' pretty fly now, too!

For this piece I used Annie Sloan's 'Graphite' - her darkest chalk paint color and truly a top favorite. Since it's been a while since I've used chalk paint I wanted to answer some questions I've received recently on the product! Most of these questions came from Instagram, and a few more came in via Periscope, (I'm on @ChelseaStyleMuttHome if you want to catch my live demos on refinishing, styling and the like)! 

Q: Why do you prefer it, (chalk paint), and is it easier? Because I'm all about easier.
A. I only use chalk paint when I am going `for a very rustic, matte finish. It's a very flat, absorbent, 'loose' (like chalk), paint.  So, it adheres well to any surface, but can also be distressed beautifully. It's definitely my go-to product when I want to give a piece a really time-worn, weathered looking finish. Chalk paint has an old-world look to it because it is so flat and distresses so well. And it is easy! No need to prep a surface before hand; just make sure the surface is clean and you're ready to paint!

Q: I just bought a can of Annie Sloan Country Grey today to paint a nightstand. I have only painted 1 piece of furniture with AS chalk paint before, a dresser using Old White. Any tips you can offer? The nightsand is unfinished pine. I want to have a smooth look to it.
A: I love Country Grey! Just make sure the surface is clean and then you can get to painting! You will probably want to use 2-3 coats for solid coverage, especially if you do not want it to appear distressed. Chalk paint brush strokes tend to be really apparent because it's so thick, so if you desire a perfectly smooth texture, I would paint on two coats, sand it over using a fine grit sanding sponge, then seal it in clear wax. A fine grit sanding sponge won't take the finish off if you just rub it over lightly, but it will smooth out the brush strokes. 

You can see above that the left picture has really raised brush strokes. The right side shows the same section smoothed over with a sanding sponge. There's a little discoloration from the sanding dust, but once it's waxed, it's all evened out and one solid color. I apply wax with a staining pad, found next to the wood stains in the hardware store.

The photo below left is smoothing the finish out with a fine grit sanding sponge. The photo below right is using a staining pad to apply the clear wax. You can see that the color is 'reawakened' with the wax. :)

Q: I'm hoping to paint a wooden chest of drawers with chalk paint and would like a glossy finish - what should I use to finish it?
A: Chalk paint is very, very flat and matte in finish. NO shine, whatsoever. To get it to shine in the least with wax, you would want to use two coats of wax and buff, buff, buff. So if you truly want a high gloss you can either a) Choose a glossier paint that might make more sense for the particular finish you are looking for, (I LOVE Rustoleum's Clear Protective Enamel paints, but if you need a wider range of color, try Behr's Marquee paint line), then you can seal it in a Polycrylic clear satin sealer. OR b) If you'd prefer to use chalk paint, then I'd use the steps above to smooth it out once you're finished, then use a Polycrylic clear high-gloss sealer. It won't shine quite as much as a glossier paint, but it will shine more than if you seal it with wax.

Q: Why is 'Graphite' difficult to work with?
A: Graphite gets SO grey when you start distressing it or smoothing out the texture with sanding! It can be a bit alarming:

The right side of the photo above shows where I gently sanded over 'Graphite', the left side is untouched. To restore the color you will want to apply a liberal amount of wax. If you want to touch anything up with paint afterwards, the process, (gentle sand and wax), will need to be repeated over that spot to even out the tone. It's a color that needs a little more sweet talking than other colors, that's all. :) But it's so worth it!

I used to paint everything white. White and Duck Egg blue. I still love the softness of those colors, but I am totally crazy about the contrast of this deep color in a white room! What a show stopper.

It's really quite dangerous to stage a piece which you intend to sell in your own home. Especially a piece that fits right in. Oh forbidden love, it's torturous! 

Have a wonderful week, friends! Thank you so much for stopping by and making StyleMutt Home a part of your day. We are so grateful for you XO

DC Apartment - Bedroom Source List

Hi Friends! Back to share the rest of the sources from our recent DC apartment design project! Finishing up our curated list in the bedroom today, and since we're all friends here, I must admit that this room made me teary eyed when we were finished! 

We started with just a color scheme, which was declared by 'Lilith' to the left here - our client's most treasured piece of art. As this room evolved through carefully and thoughtfully picking out every little detail, we were somewhat taken aback when we were done! We knew it would be a special space, but nailing a 'feeling' that a client is seeking is somewhat nerveracking, as we realized. Everyone responds differently to different styles! So, when we stood back when all was hung and done, we knew we'd nailed the feeling Christine had desired. And what fun we had doing it, to boot!

So let's look back over the details of this room, shall we?!

Bedroom sources:

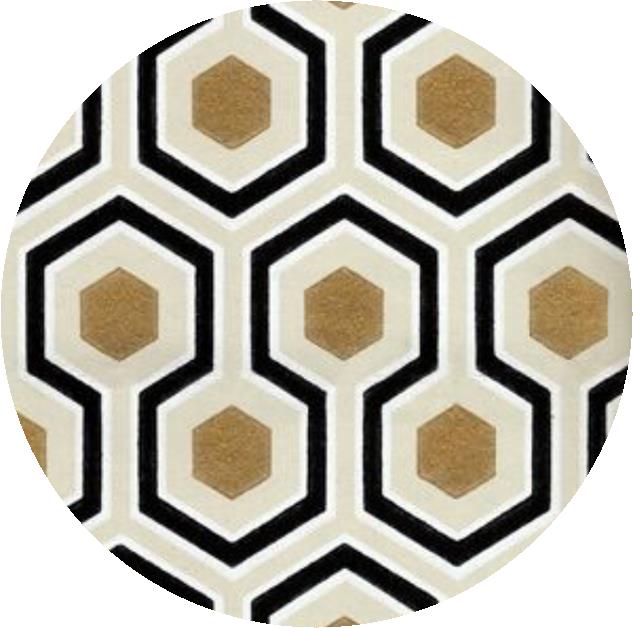
1. Rug - Rugs USA; Kas Oriental Amore Meridian Rug
2. Ivory coverlette - West Elm; Braided Quilt
3. X-Base Stools - Target; Threshold X-Stool
4. Ivory Throw Blanket - IKEA

1. Mint pompom shams - Urban Outfitters
2. Faux Sheepskin Pillows - Pottery Barn
3. Kilim Pillow - VillagePillow, (no longer on Etsy, similar item here)
4. Gold + White Clip Lamps - IKEA
5. Peachy Pink Sheets - Wayfair

1. Desk stool - Target
2. Desk brackets - IKEA
3. Plants - Home Depot
*We thrifted and refinished the nightstands in Pure White by Annie Sloan Chalk Paint, and the headboard we built just for this space! Deets on that coming soon!

1. Original Ballerina Painting + Sketch - Ricardo Roig
*The mirror is a piece passed down to our client from a beloved family member, and the dresser we thrifted and refinished in Pure White by Annie Sloan Chalk Paint.

1. Original Painting - Lindy Kehoe

In case you missed our living room source list, hop over here. We'll be following up soon with a few of the DIY projects we used to give Christine a personalized, custom space, but that's all our sources! Feel free to ask any questions you may have that we didn't cover!

Thank you all for stopping by!

Constellation Table ||A Star-Crossed Love Story||

This is a love story.  A furniture love story.  The story of one table top and one table base who were destined to be together.  But first they had to figure up how to break up with their original table top and table base... And that's where I come in...


Ok guys, I'm no homewrecker.  In fact, I would more likely call myself a homemaker.  But in this case, I did have to break up two perfectly good tables to help them find their soul mates.  You may remember that a while back I scored a deal on this world market table:

My first impression of the table was that this combo was a little too dark and sad for my taste so I offered to give the base a makeover.  He got a full-bodied coat of gold spray paint and rub down with dark wax.  But I think his new look got him thinking he was too good for the ole plain wooden top.  And so he left her for this glamorous round mirrored tray and they made a beautiful bar cart together

But the rejected top took the break-up kinda hard.  She spent the next four months single... and aimless... and hiding underneath my couch.  

I tried to convince her that she didn't need a base.  She was a strong and beautiful wooden top who didn't need a base to feel useful.  I tried to fix her up with a pair of handles and make her into a tray, but she just wasn't into it.  She wanted a new look, a new life - something that would make that campaign bar cart jealous.  I suggested all sorts of makeovers.  But they were either too understated, too out-there, or too over-the-top for her liking. 

 But then one day... we found it...  Her perfect look.  

Source: Fab.com

Source: Fab.com

It was classy and elegant and simple.  Just like her.  

Meanwhile... I just so happened to meet this quirky base while out on a Home Goods run.  He was simple, sleek, three-pronged, and perfect for my wooden top.  Although he was with that crazy guitar-pick top at the time, I knew that wouldn't last.  I mean, she was laminate and a weird shape and (on closer inspection) severely damaged.  There was no way they would ever make it out of the store together.  I just had to intervene.

After getting a quick discount at the register for the damaged pair (always ask at Home Goods for a deal if you find a serious imperfection - you never know if you'll get a little money off!), I convinced them they would be better off seeing other people and the crazy top went on her way (into the trash can).  

I, being the perfect furniture wingman, told the base all about the wooden top.  He agreed to be set up on a blind date but needed a little sprucing of his own first.  So when the two finally met, it was like the stars had aligned:

The base was now a handsome gold.

His simple, clean lines perfectly complimented the top's celestial swirl of elegant constellations.

Her makeover took a combination of black sharpie, gold leaf pen, an orbital sander, and sealing wax.  When applying the wax, I accidentally discovered that it smeared the gold.  In the end, she liked that better because it gave her more of a "cosmic swirl" - don't you think?  

It is definitely NOT accurate so sorry all you sextants out there who were thinking of using this table to navigate the heavens while at sea. 

[My low-budget staging is brought to you by my $0.50 brass candle sticks and some photocopies of stellar maps and moon charts.  Winning!]

I picked out my favorite constellation - not sure what it really is, but I'm calling it Mufasa.  Can you spot it?

A winning combination don't you think?  

And they lived happily ever after...

Photo Mar 27, 10 55 02 AM.jpg

The piece has already sold, but there's no need to make sad puppy-dog eyes - we do custom orders!  Just email me at cate@stylemutthome.com and we can talk about how to get you your own heavenly table.


And friends, if you like what we are doing over here at StyleMutt Home, please help us reach more readers by voting for Chelsea's space in the #SOdomino contest!  We offer our eternal friendship and gratitude in return ;)