Matt + Chelsea's Christmas Home Part 2: Main Living Spaces

Back as promised with the second part of our holiday home tour! We sure do have fun decorating our home to celebrate this most special birthday, just as we do for one of our own family birthdays. This season, despite all it’s busy-ness, is covered in so much joy. I pray that you’re feeling it in some way.

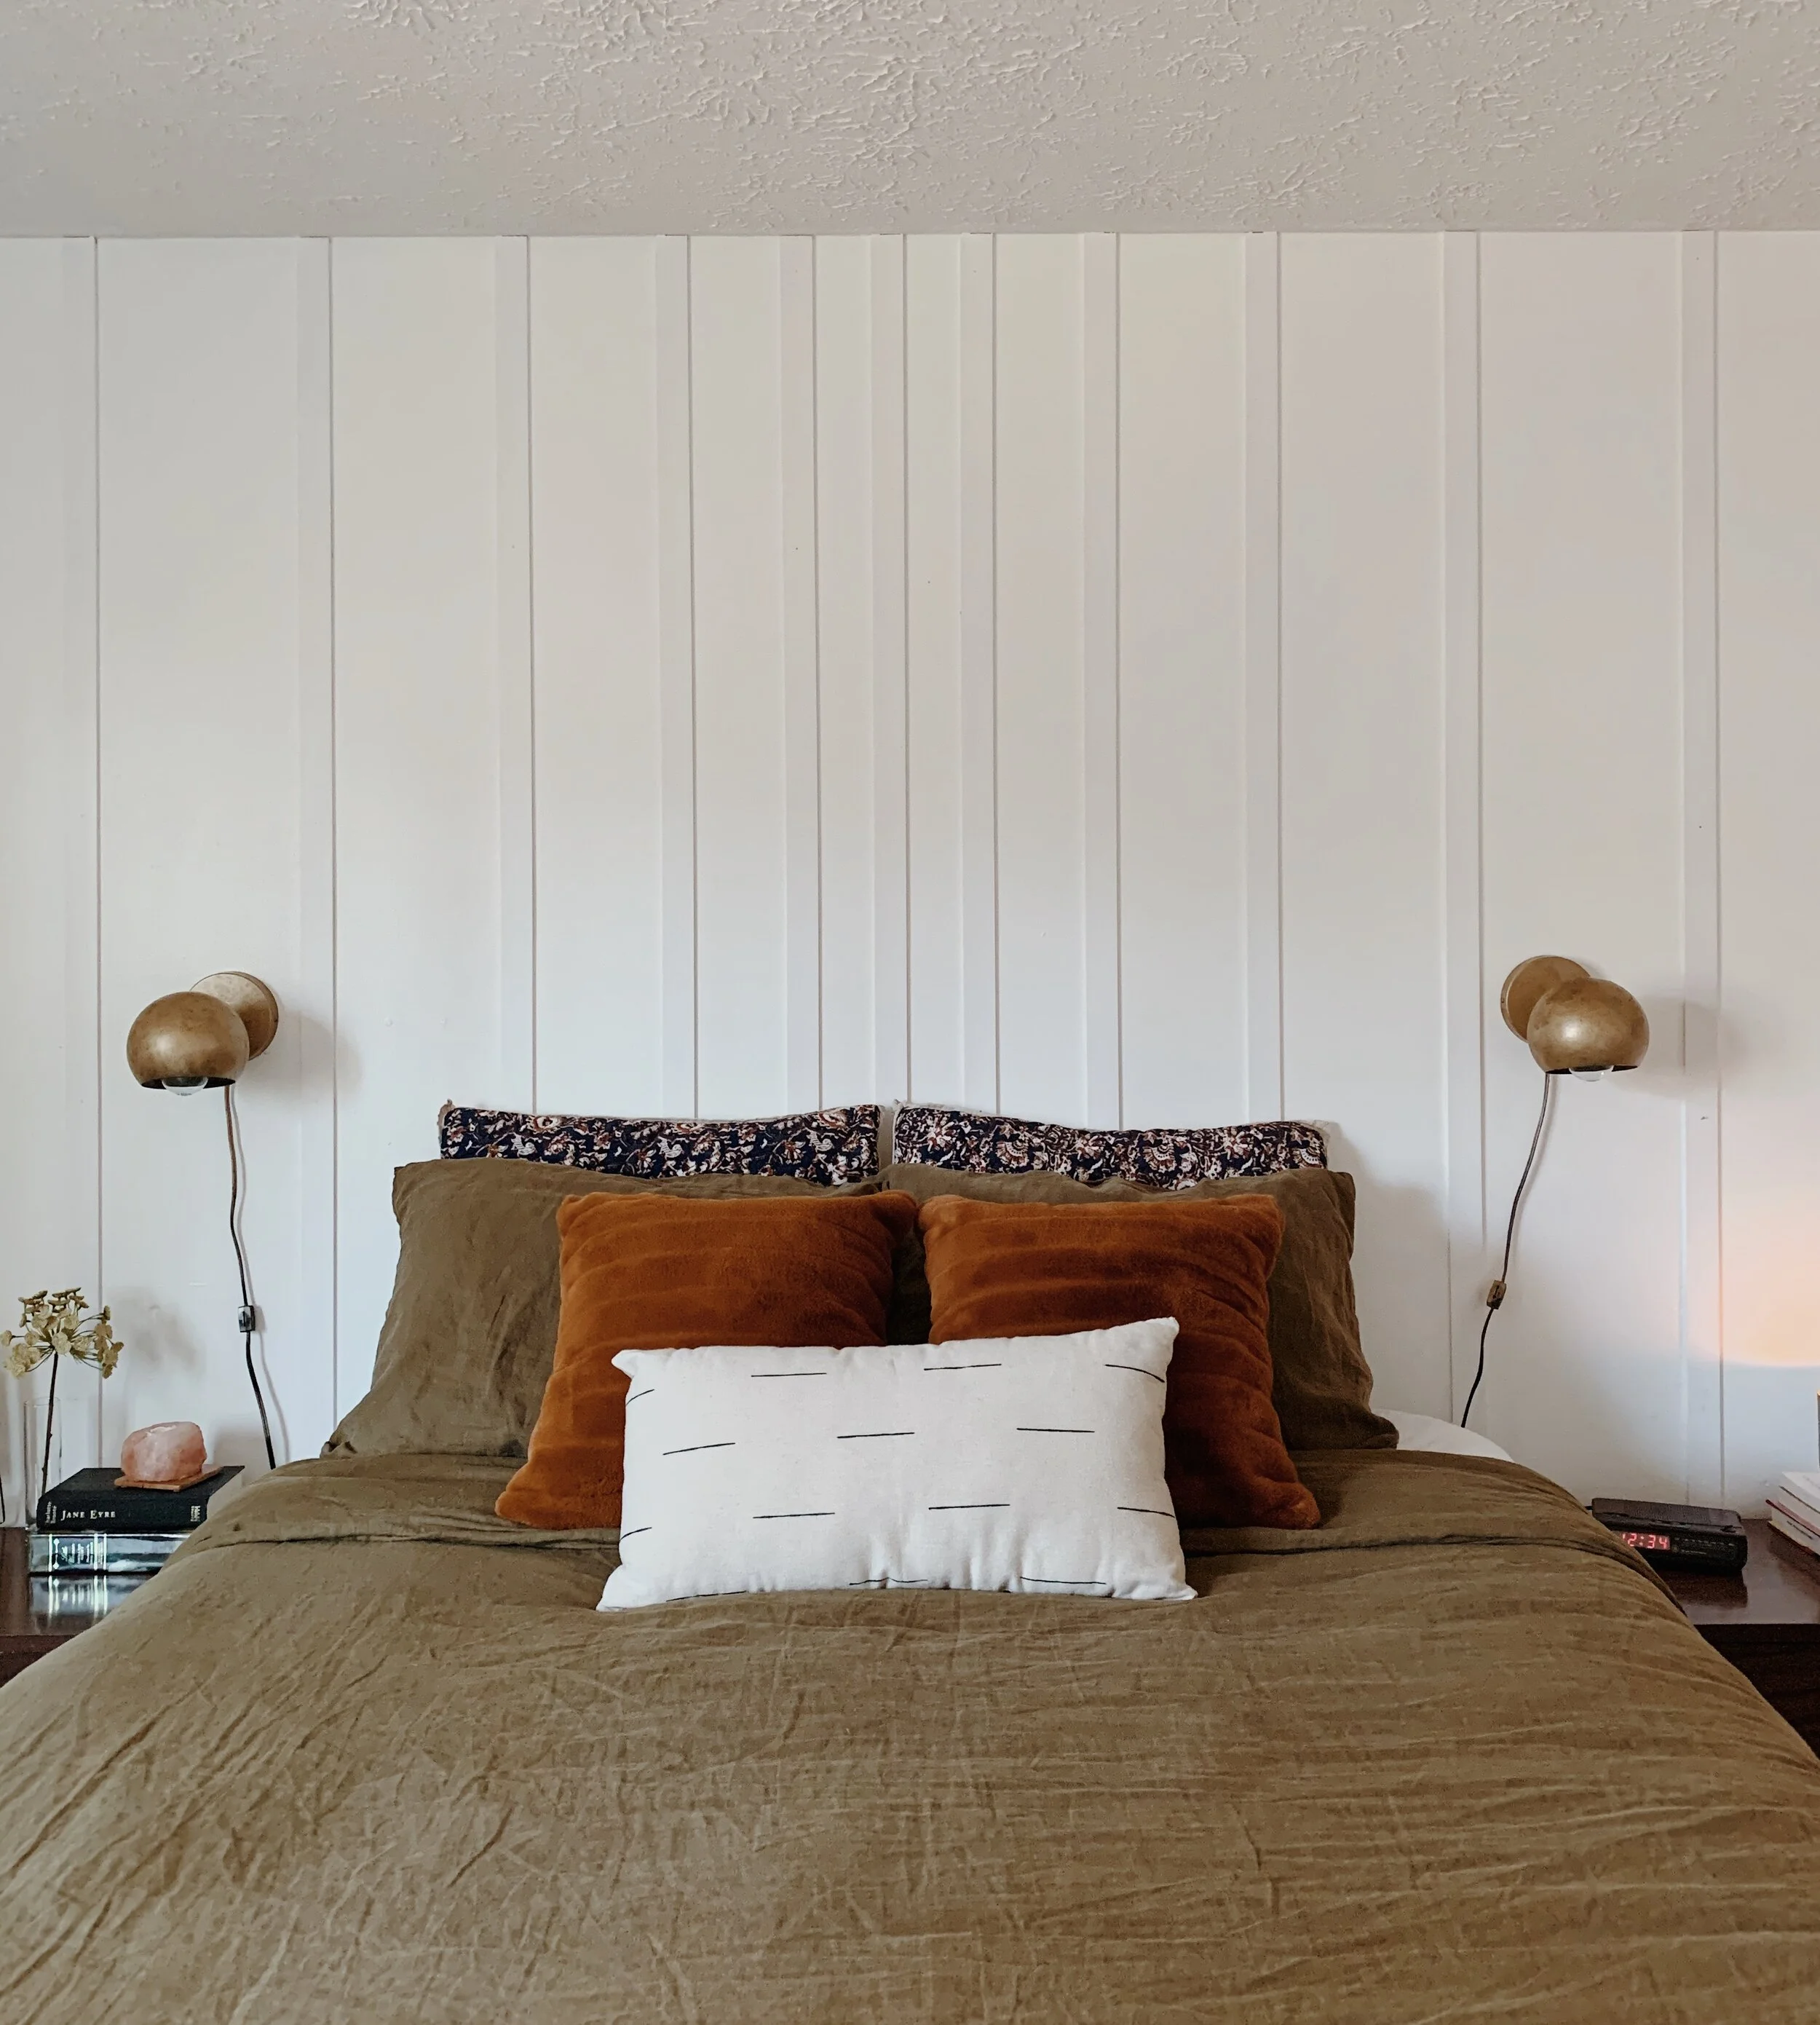
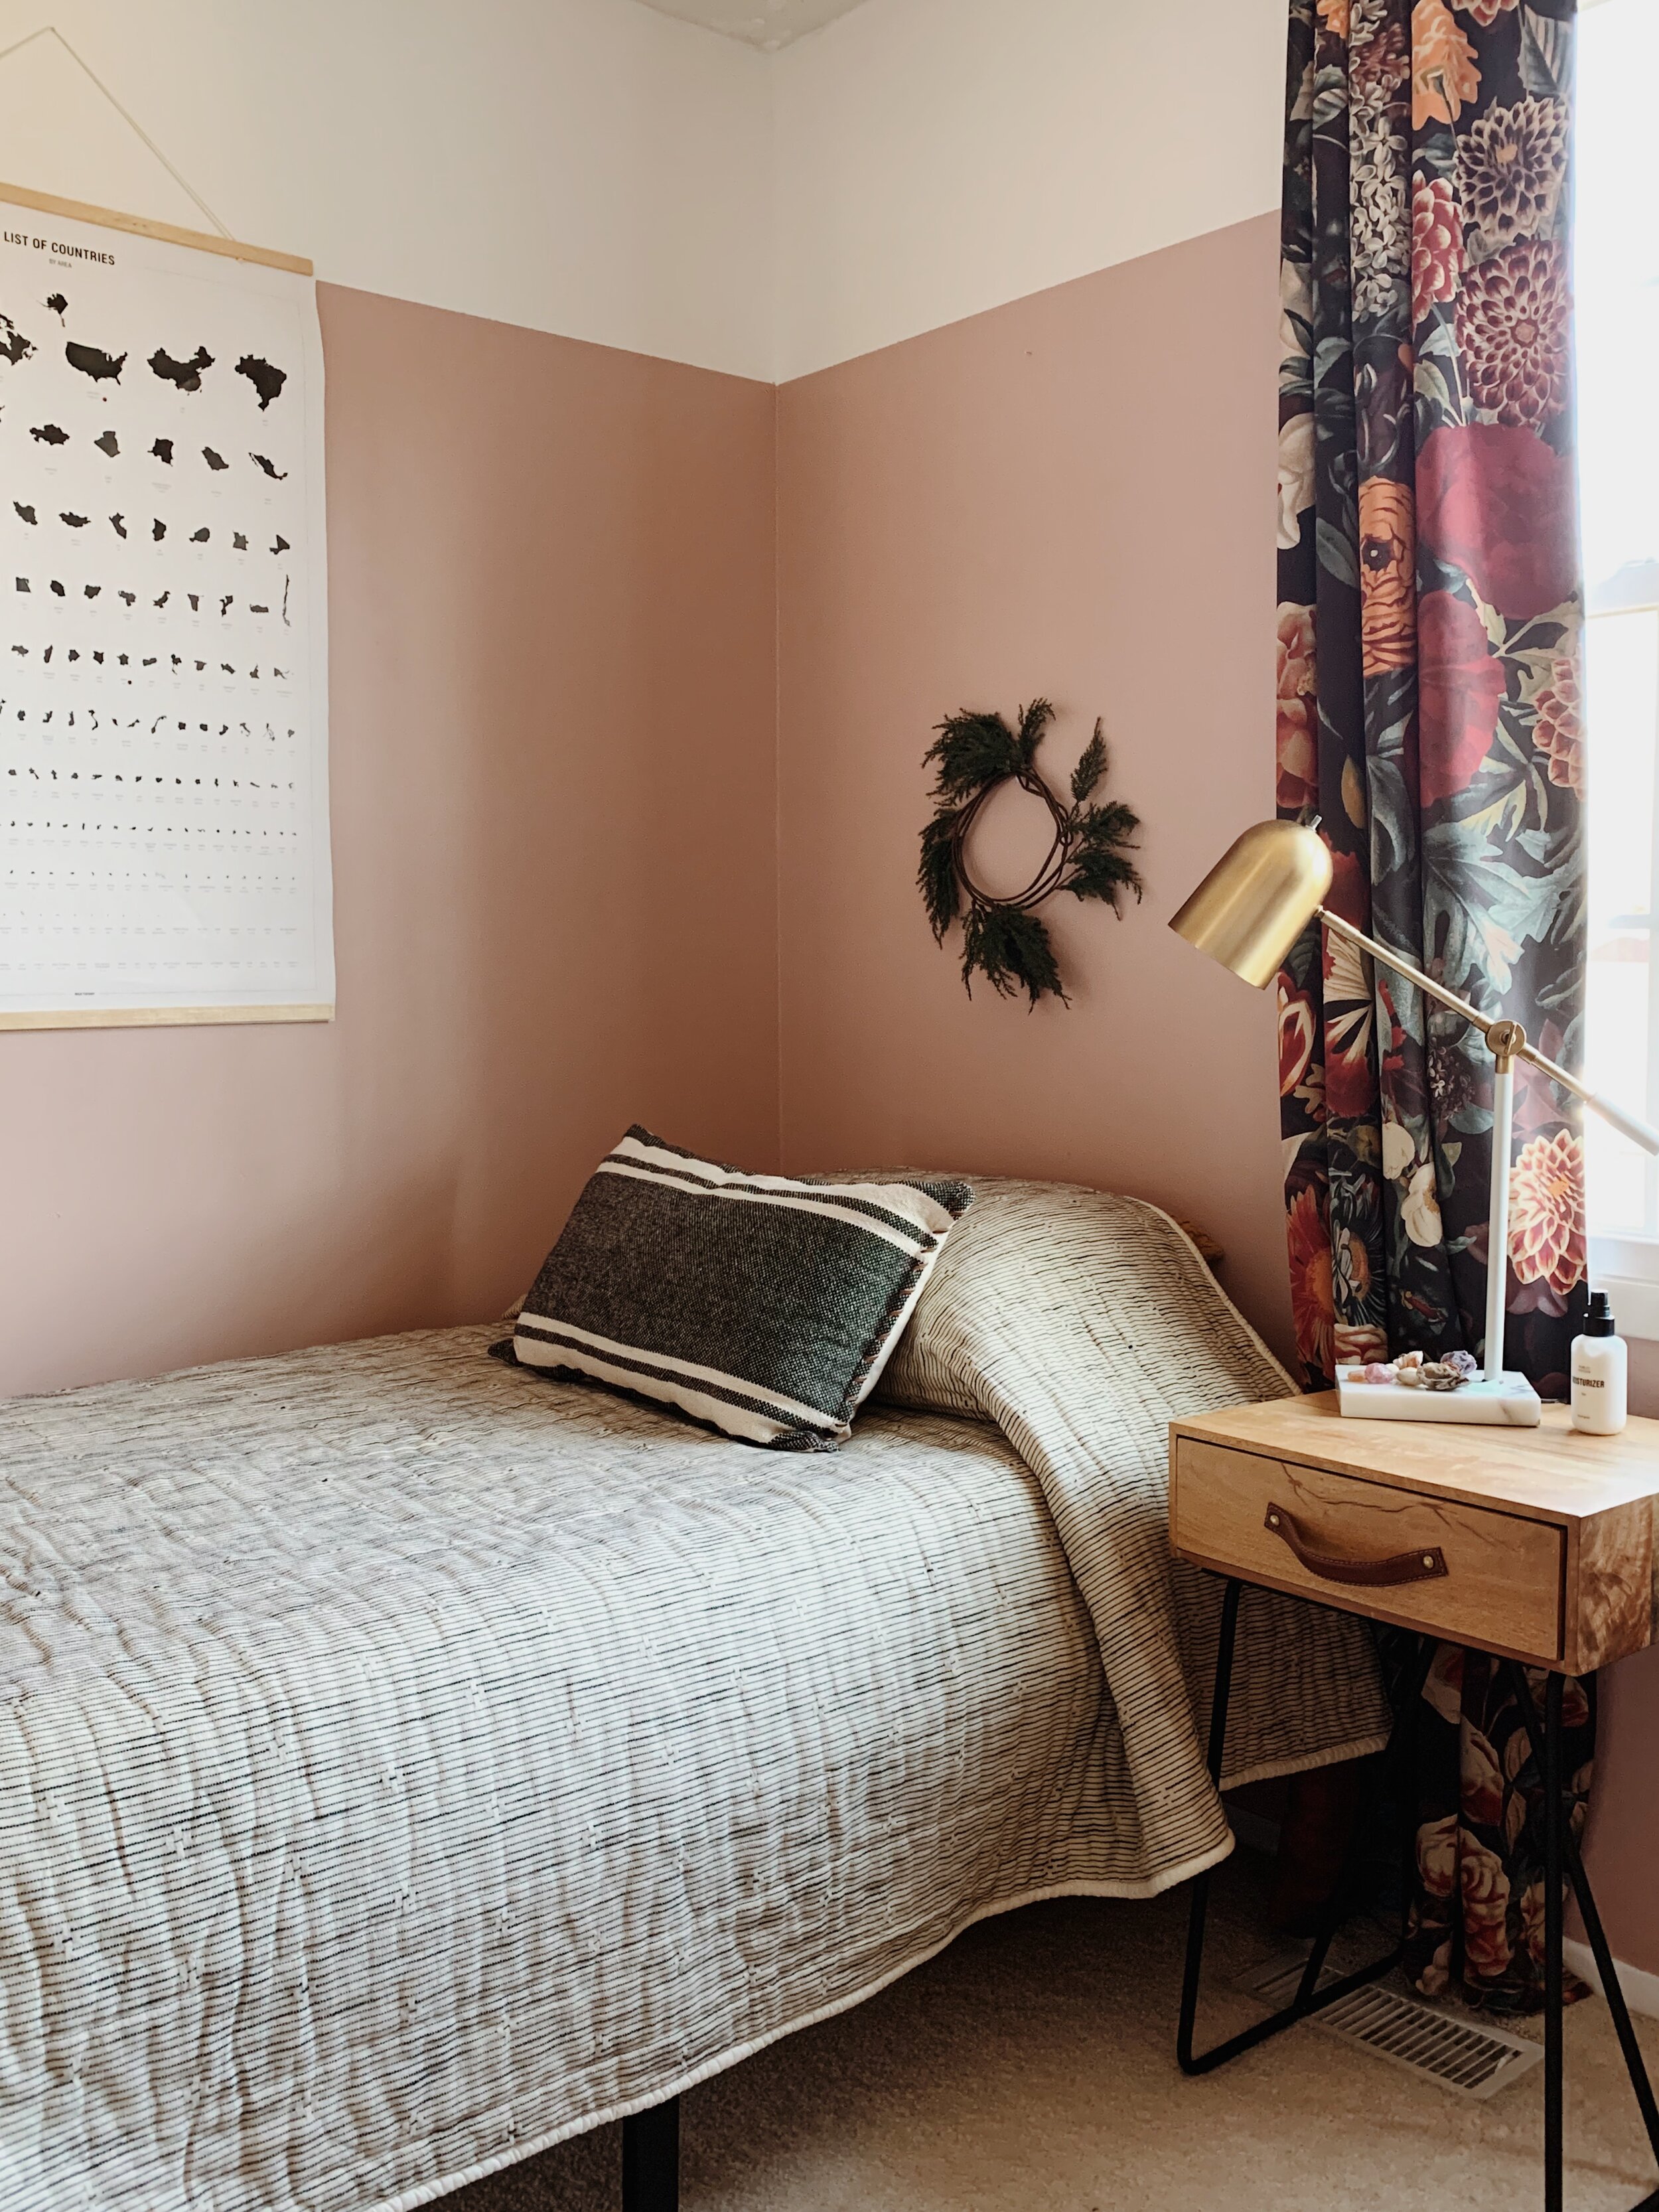
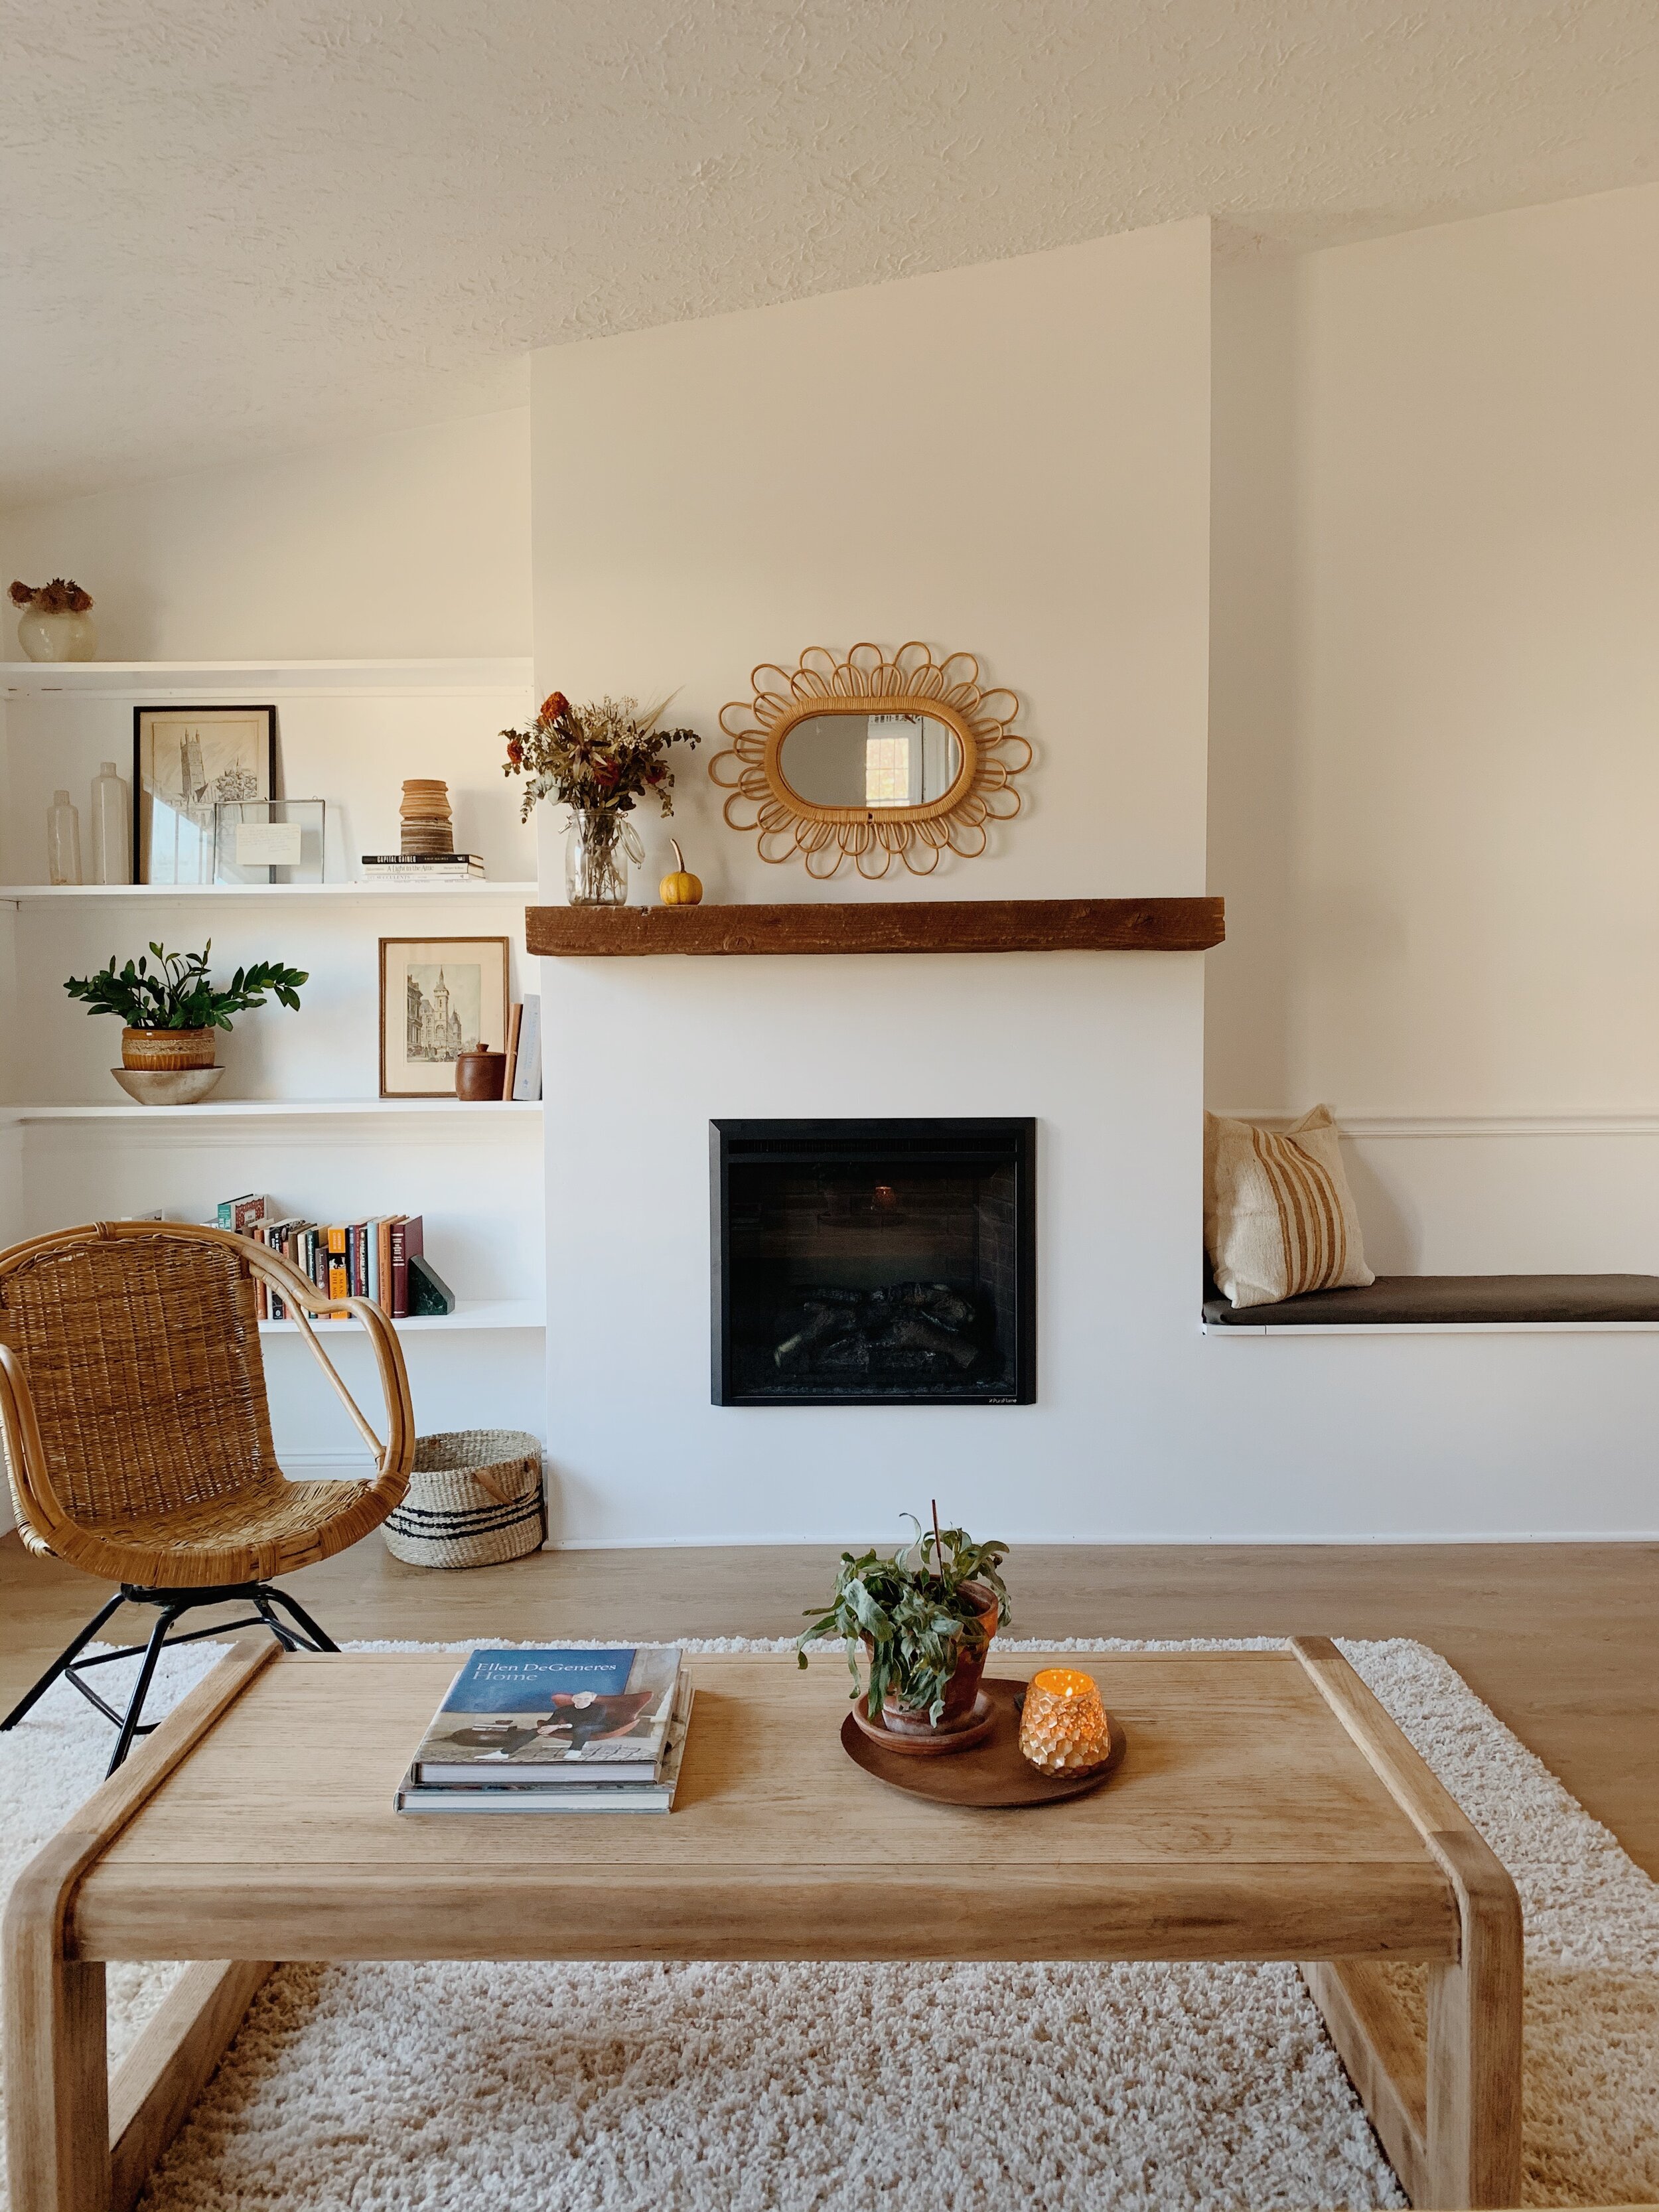
On Wednesday I shared our bedrooms, so today please come on in and explore our main living spaces!

4.JPG
5.JPG
37.JPG
6.JPG

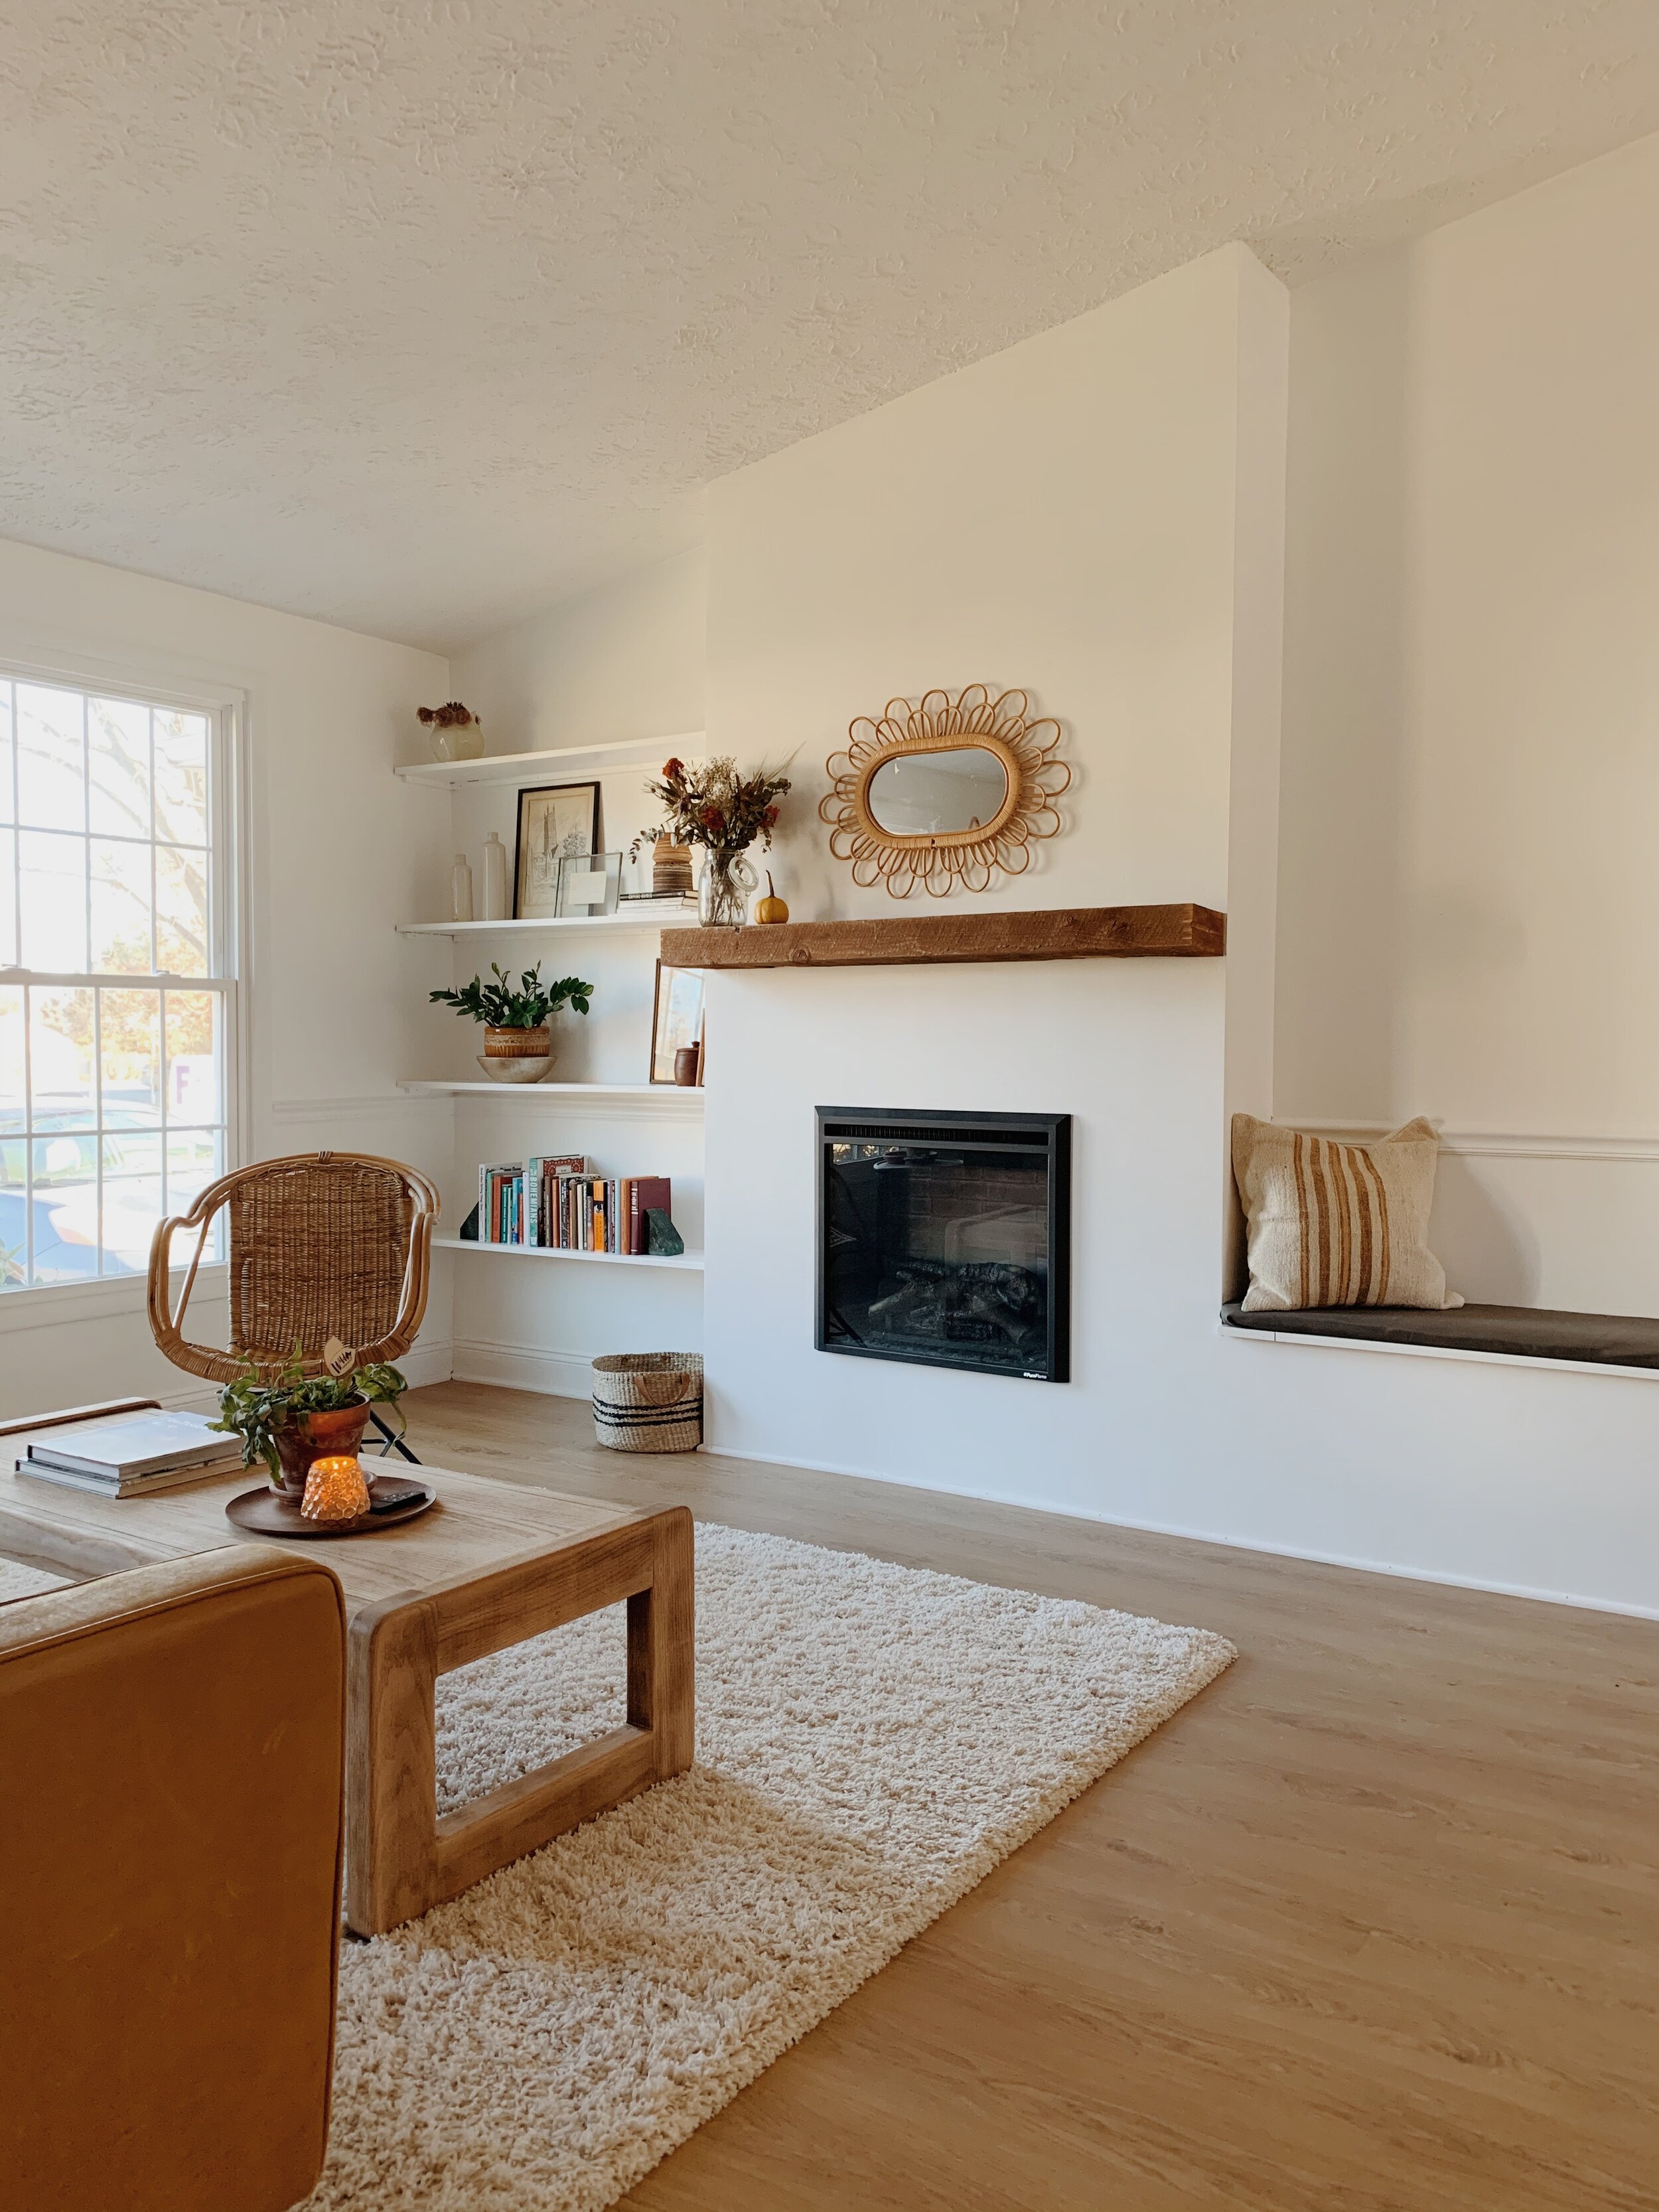
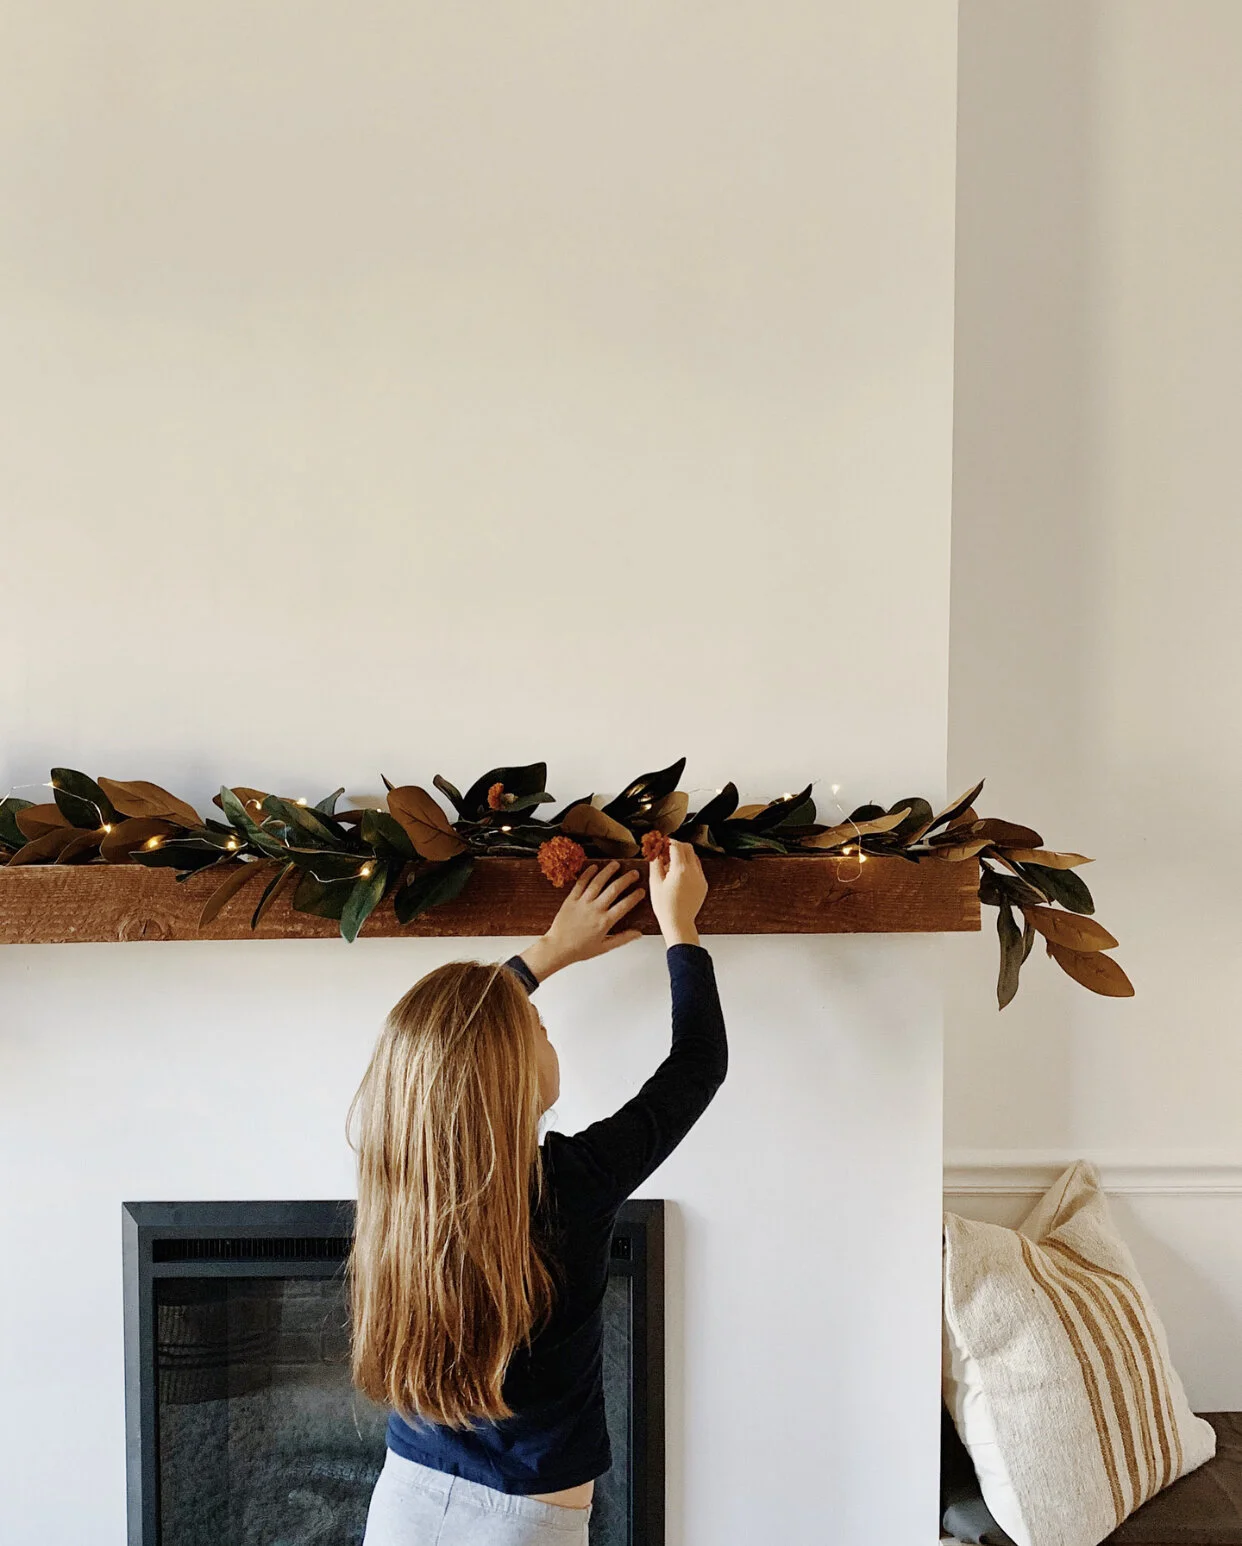
A few subtle and not so subtle additions in here this year - garland is easy but with such an open main living space now, I didn’t want to just drape it everywhere and overwhelm the space. I love it over our sliding glass doors and decided this would be it for garland this year. Just enough.

22.JPG
28.JPG

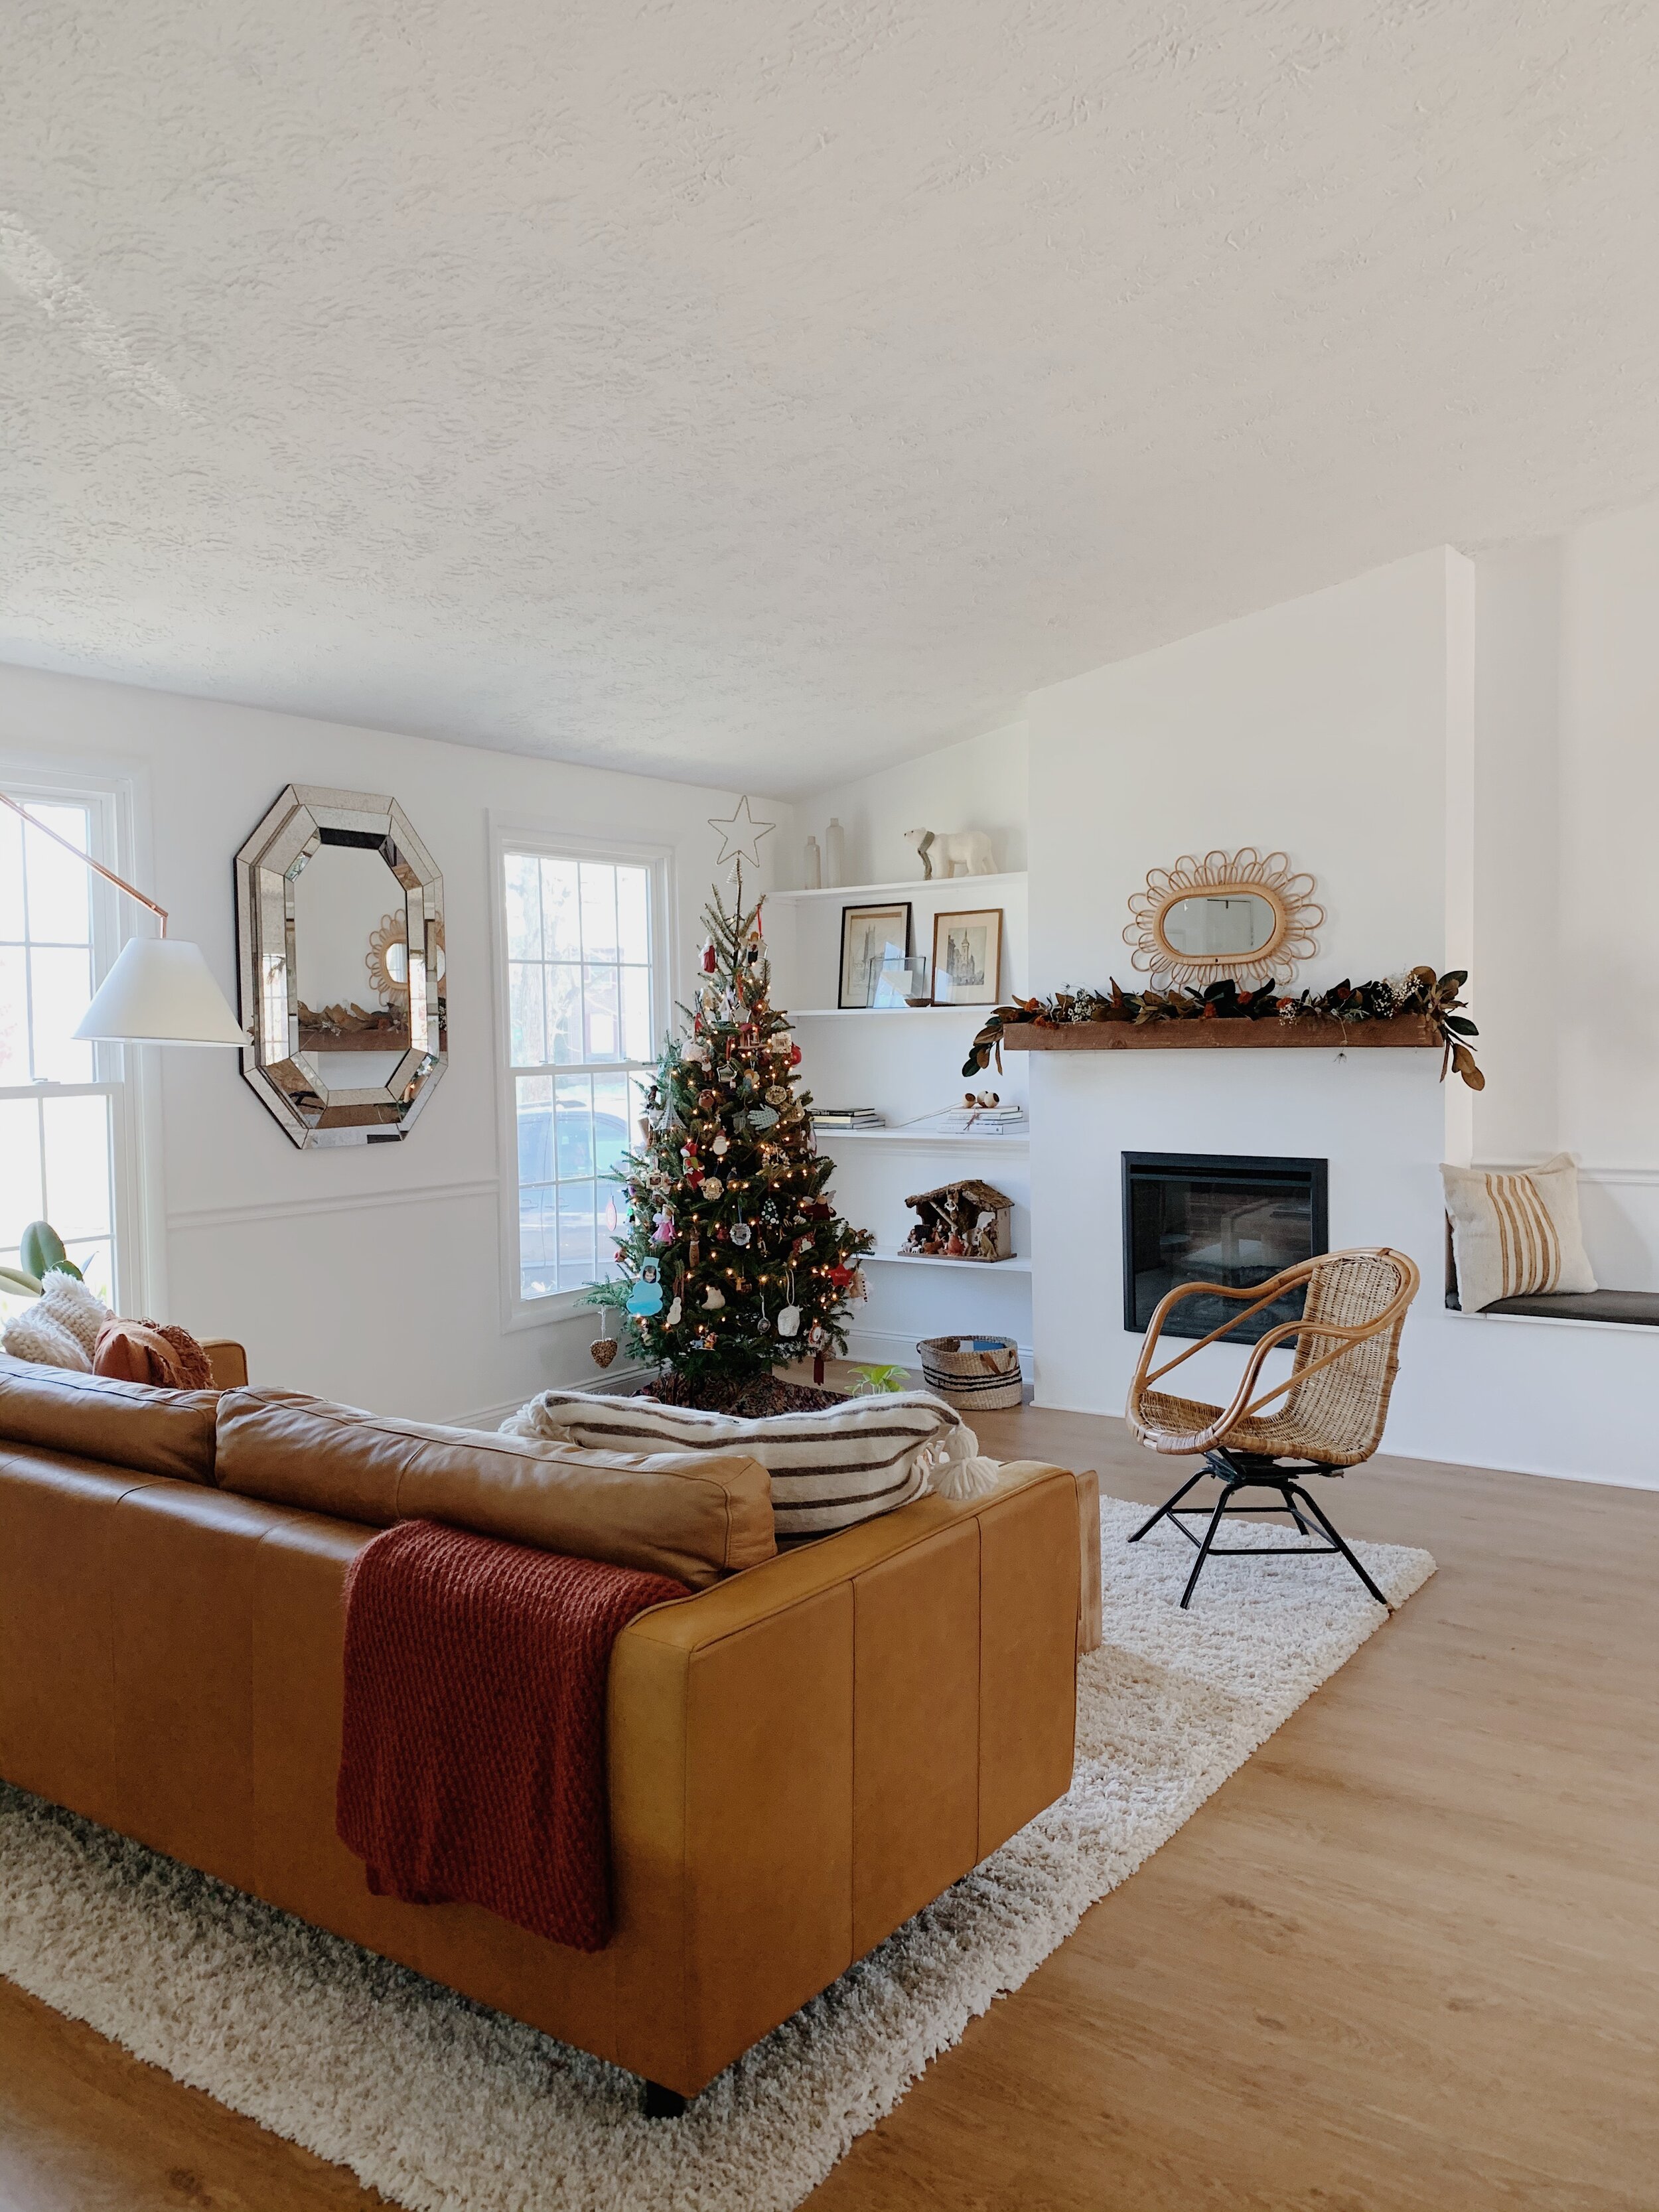
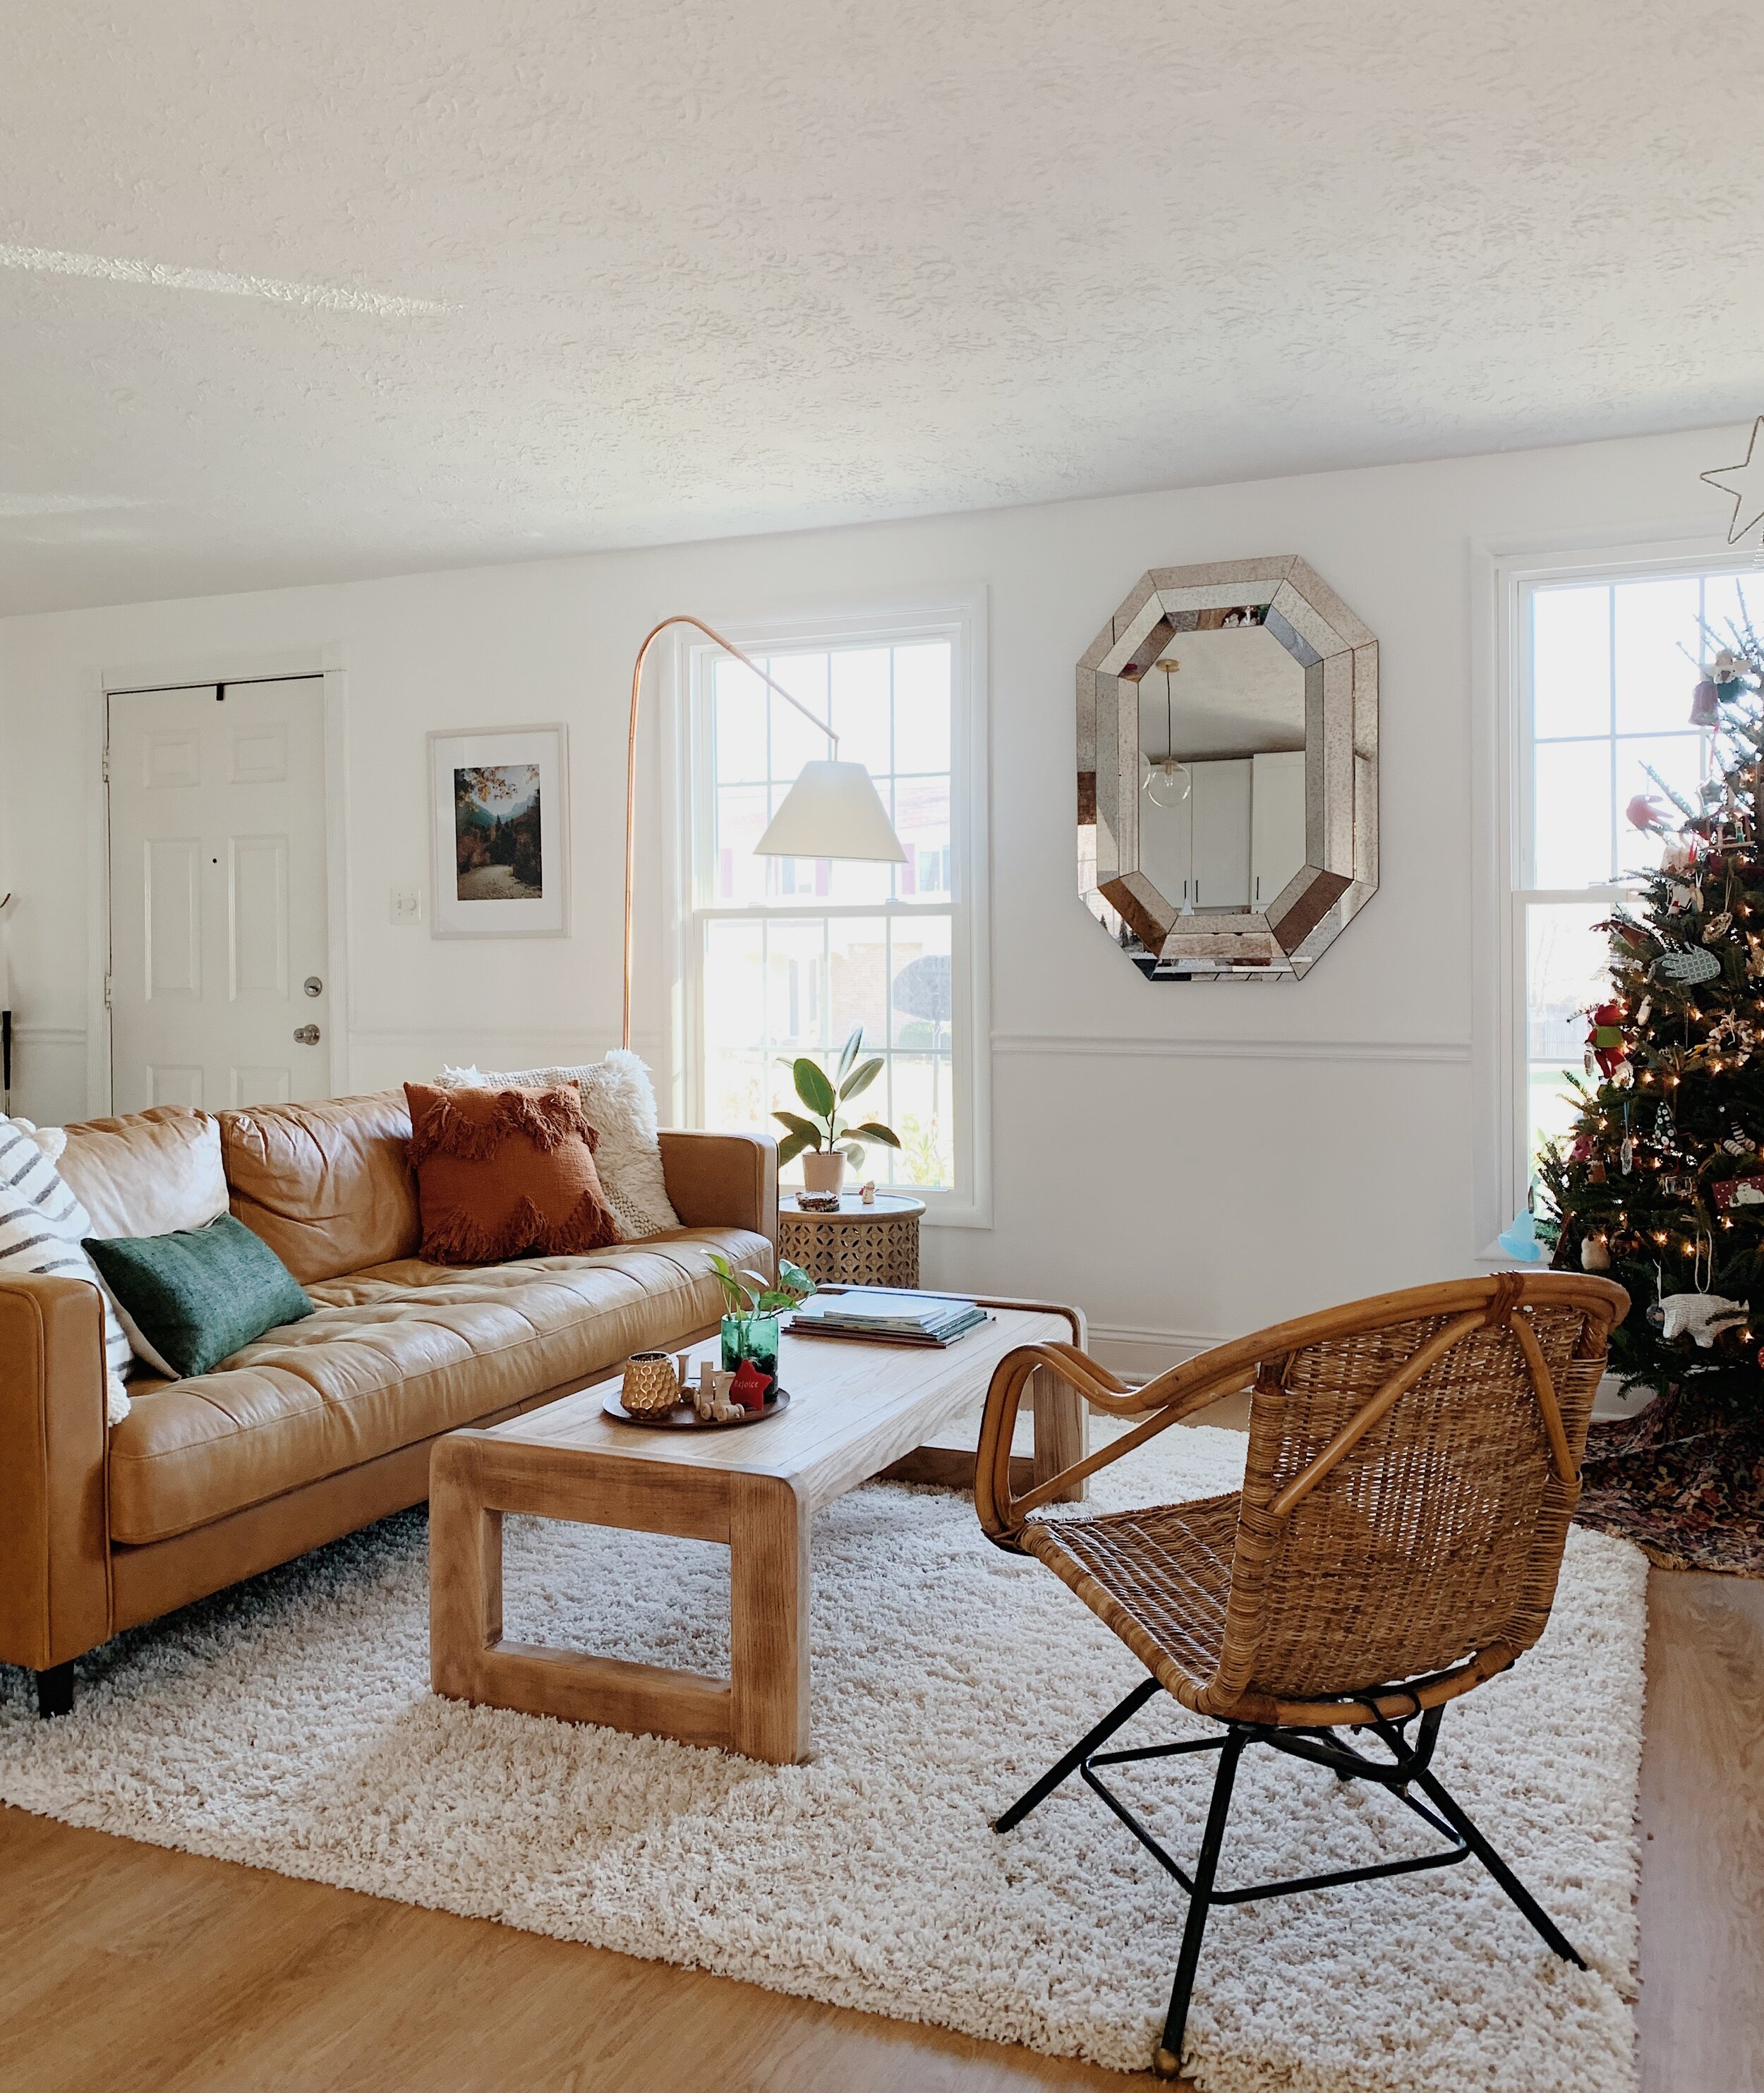
In such a shared space as this I am more aware than ever of any ‘excess’. For Christmas decorating this year we unpacked a lot from our Christmas boxes, but less than usual. I more just wanted the space to feel comfy and cozy for the family and guests over the holidays, so adding plush pillows on the dining chairs where we don’t usually have pillows and twinkly lights where we don’t usually have twinkly lights, have been subtle additions that add a lot of impact.

19.JPG
20.JPG

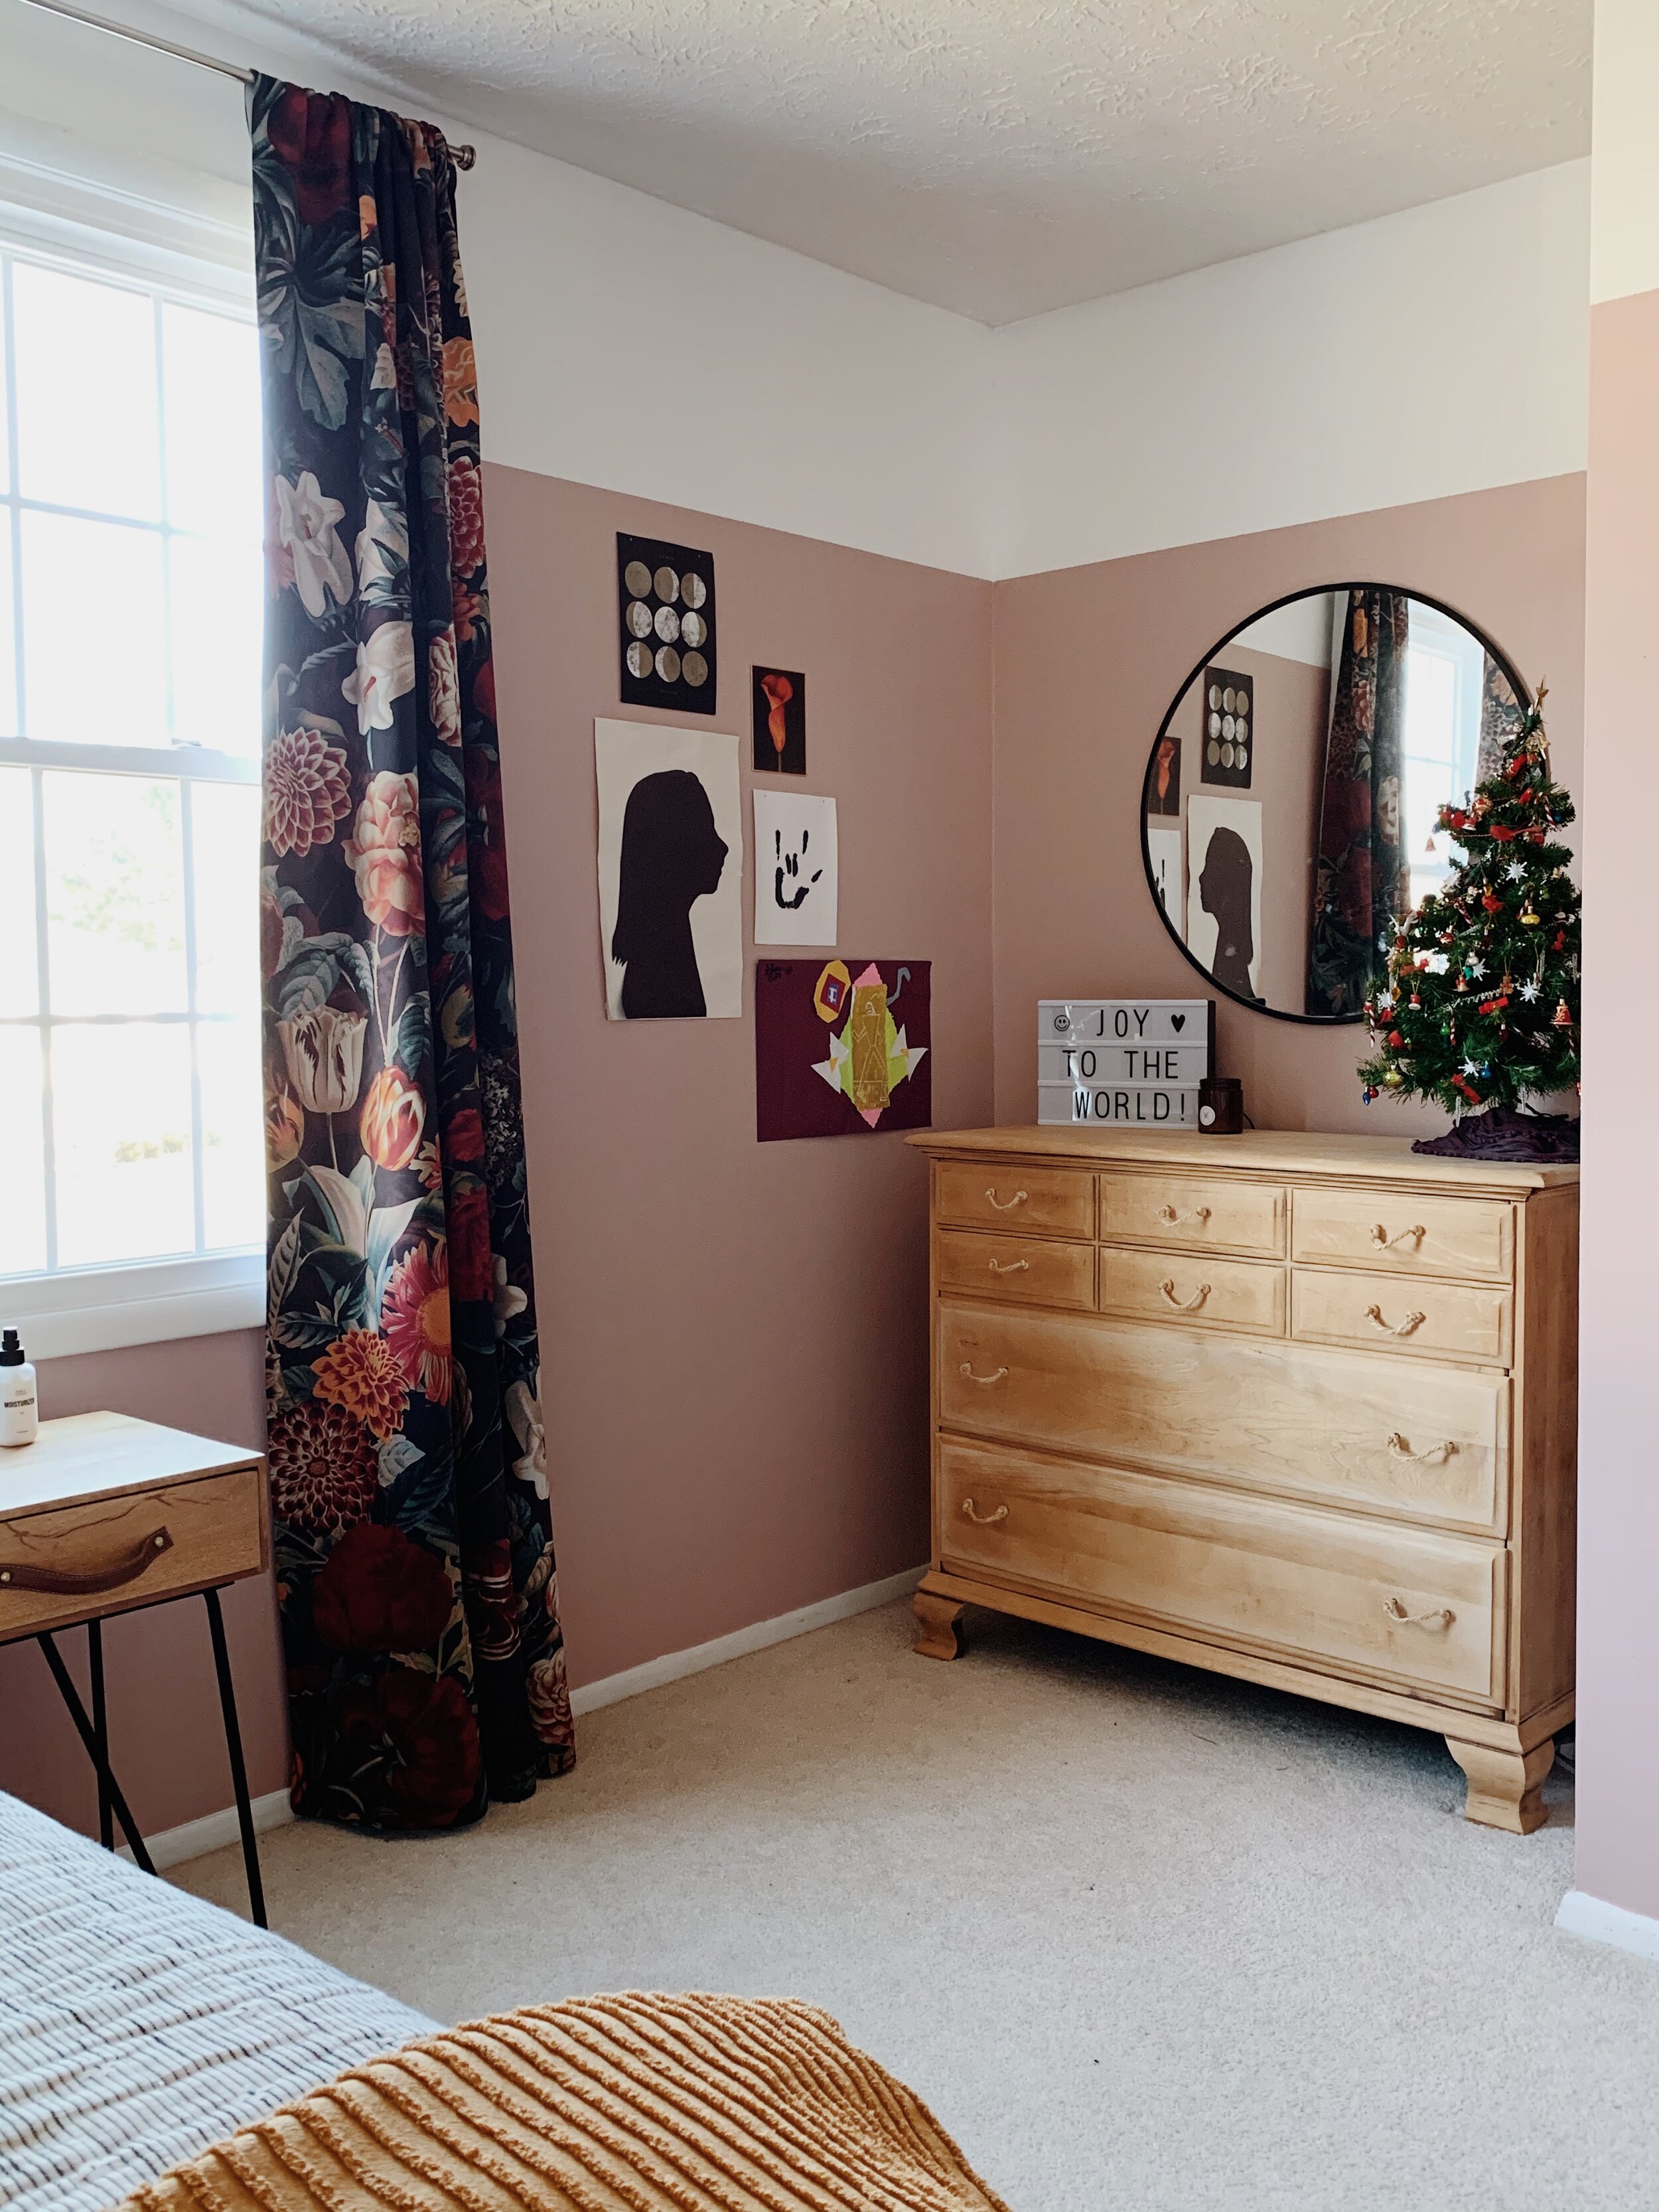
Our tree this year is small but mighty! For such a stout little thing it is happy, healthy and strong as an ox! Not a single dropped ornament and completely self sufficient. Last years tree, which we named Mariah Carey, was a regular diva, requiring us to anchor her to the wall because she couldn’t stand straight on her own, and her flimsy branches wouldn’t even support our homemade paper ornaments. In honor of our Mason’s favorite Eagles player, we’ll call this years tree Darren Sproles; a 5’6” pack of dynamo.

7.JPG

Our one of a kind Christmas tree skirt was a fun DIY a few years ago when I scored a 9x12 vintage rug for $20. It was a steel because the entire thing had been severed in half and then duct taped back together. (!!!) I used my old tree skirt as a template and cut out 6 tree skirts from the rug, (and a few coasters)!

16.JPG
36.JPG
21.JPG
18.JPG

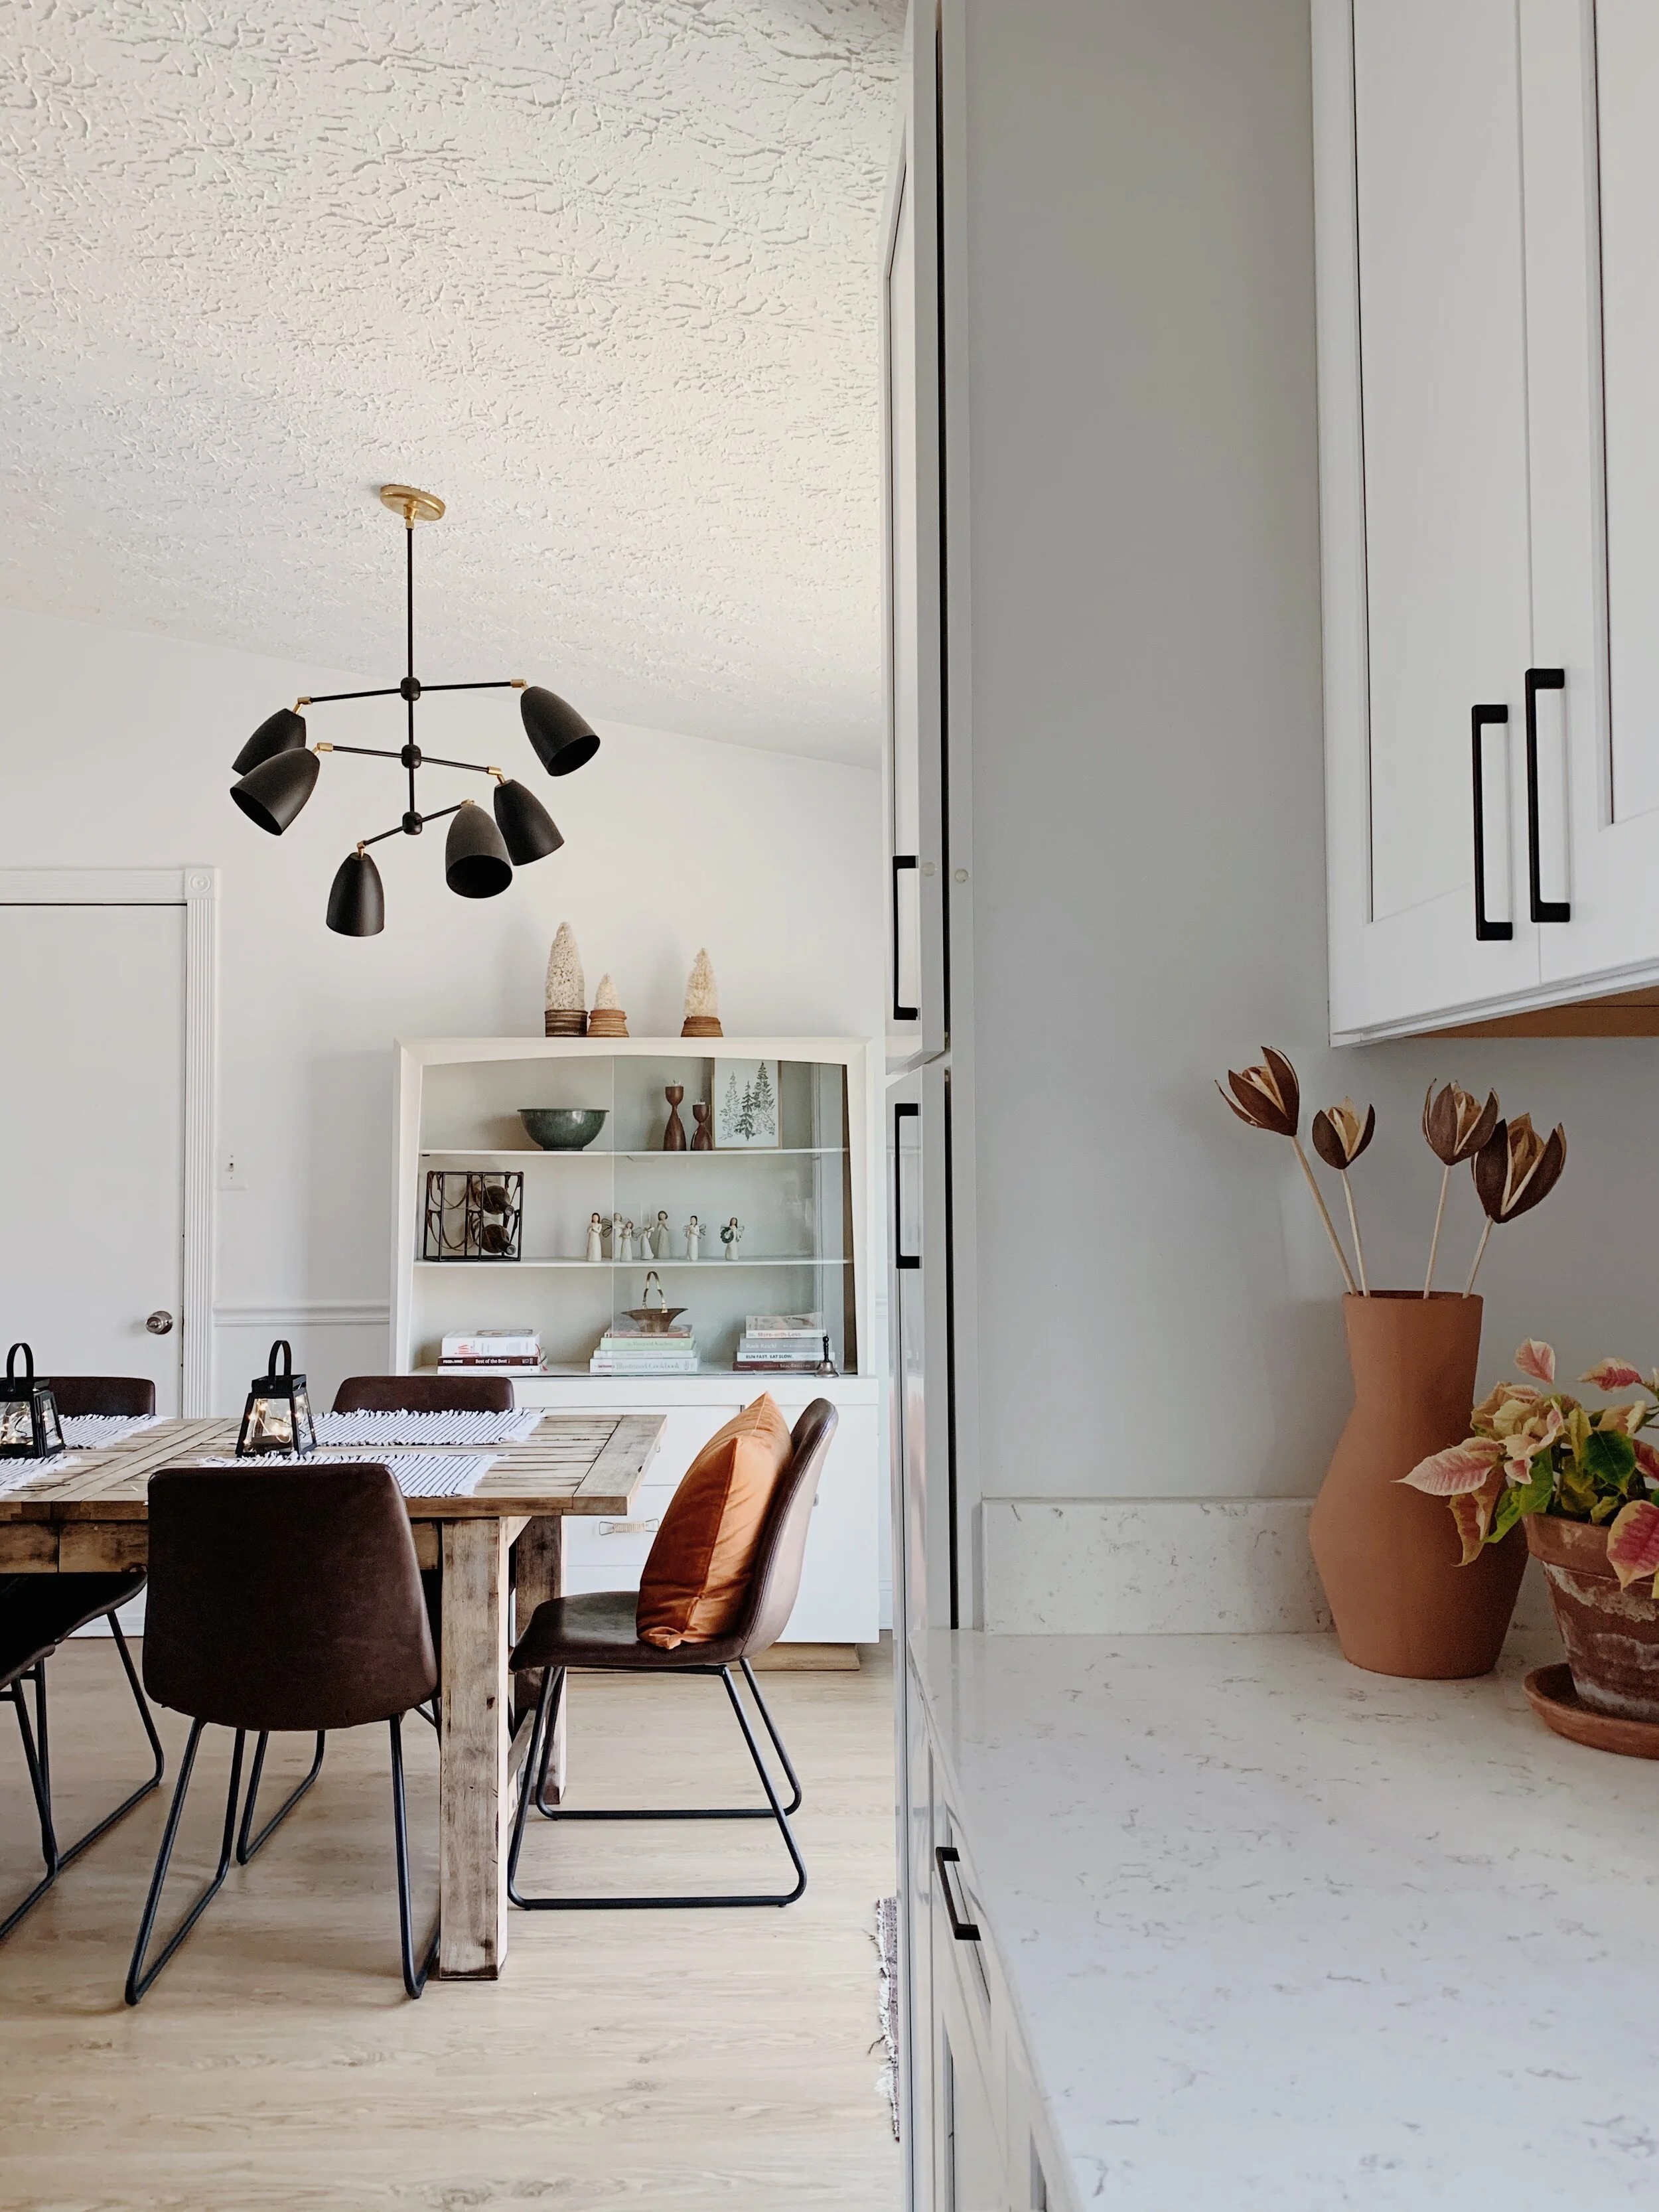
Our kitchen is seeing a whole lot of action this season, wth weekly batches of pumpkin bread and hundreds of Christmas cookies, (I mean, you can’t just have 2 sandtarts in a sitting, people). I need to keep my counters somewhat open but a couple pretty plants and a wintry windowsill make it a very happy place to work and play, indeed!

3.JPG
2.JPG
8.JPG

Well there you have it! I hope you’ve enjoyed coming through; it’s so fun inviting you in every holiday season! This time of year comes with a lot of expectations that are hard to meet; but there is One we can count on each and every day, who came to triumph our despair and give us hope. May the God of hope fill you with all joy and peace as you trust in him, so that you may overflow with hope by the power of the Holy Spirit.

Thank you so much for coming by today and Merry Christmas to you and yours!

Chelesa.jpg


Matt + Chelsea's Christmas Home Part 1: Bedrooms

Hi there! It’s that time of year again, to open our doors wide and have you all in for a visit! While I’m not the most sentimental person, I do embrace tradition and this is one of my favorites when it comes to our blog. Really, in a perfect world we would all live near enough to invite each other over in person for warm drinks and holiday merriment. But, how sweet to get to reach out to you in this way; I really am grateful for this unusual and unexpected form of community which has blossomed into some RL friendships and, most surprisingly, an interesting way to earn a living!

To keep things short and sweet around here I split our Christmas tour into two days. Today I’m just sharing the bedrooms and I’ll be back on Friday with the main living spaces. We have three bedrooms in our home - the Master, Shire’s room, and Colin and Mason’s shared room. If you caught my last post you saw how we turned their room into our Guest Room for holiday visitors, but all is back to normal now. I should tell you ahead of time - I don’t do a whole lot in bedrooms for the holidays. Simplicity is ever calling my name, so instead I emphasized cozier textures for these colder months; thicker bedding, softer pillows, etc.

So welcome in, one and all! Come as you are is always my rule. We hope you enjoy!

Master Bedroom

23.JPG

Confession - I usually strongly dislike extra pillows on our bed. I just really enjoy a simple bed, (and being able to pull down the blankets and crawl in without the fuss of moving extra pillows around). But, our bedroom has a TV and the kids do watch it more with us in the colder months, so I grabbed a couple velvety soft shams and faux fur throw pillows to make it a more comfortable place when the gang piles on.

24.JPG
15.JPG
25.JPG

Let’s see, what else - oh! The balsam fir candle! Our christmas tree smell isn’t quite making it to our bedroom so I’m goin’ with the faux. I mean, if we’re not overstimulating all our senses this time of year what are we even doing? Hah!

27.JPG
14.JPG

Shire’s Room

11.JPG

Her room feels festive without even trying. The colors in here want for nothing! Just a couple special touches, (like the American Girl Kirsten Christmas Tree on loan from my sweet sister).

10.JPG

Funny story - I found that tiny wreath in the Target $5 section early in the Fall and thought it a cute wreath. When I took the tag off it started to unravel and I realized it was a garland. Oops. But I paper-clipped it back together; not to worry! Lol!

9.JPG

Colin + Mason’s Room

30.JPG

This room has just sort of evolved and come together like a happy accident. The elements in here have been collected/DIY’ed over years and they somehow just perfectly represent Colin and Mason and this stage of their life. I stenciled these birch trees maybe 5 or 6 years ago and they are especially fun at Christmastime.

31.JPG
32.JPG
33.JPG

Ah yes, can’t leave out the Bisou Natural air freshener satchel. That cute little ‘JOY’ bag hanging on the accordion wrack is hard at work cleaning the air. It’s filled with activated bamboo charcoal, which naturally removes odors, bacteria and excess moisture from the air. And do you know what carries around excess moisture? Prepubescent boys and older. Find out more here and shop for your own!

35.JPG

That’s it for today! I hope you enjoyed a few quiet moments to yourself while you were here. I so appreciate you stopping by!

Chelesa.jpg

Living Room Fireplace Reveal

So tickled to finally get to share our finished fireplace with you all today! It is an absolute dream; I can’t believe this is the same house we moved into 9+ years ago! A few weeks ago I shared our plan and inspiration here, and now that it’s finished it’s even better than I had expected. As with most projects, some of the details evolved as the build came together, but I think it’s worth sharing the plan I had laid out last January. So almost a year ago!

20.jpg

And here’s where we ended up:

neww14.JPG

We could not be more grateful to our dear friend, Bill, who spent the better part of 3 weekends coming over to help us with this. To say he is incredibly skilled is a massive understatement, but beyond that even is his generosity. We were so blessed by his knowledge and willingness to help - and all I did was send him home with bacon! Listen, there’s more where that came from for anyone out there who wants to help the Biebers with home projects. Lol!

neww1.JPG

At the last minute we decided to paint the shelves and bench seat white to let the mantle really stand out. The mantle was removed from our dear friends’ 1960-something fireplace when they started their home renovation. They decided to replace it during their own home reno process, so we lucked out big time - it is SUCH a gorgeous, chunky piece of wood. The years of use have banged it up and faded it’s color and that kind of character is just what our new structure needed.

neww3.JPG

Funny, we moved the sofa to this side of the room, (it was previously against the windows), just to get it out of the way during the construction. It didn’t take long for us to love it this way! The kids said they prefer it here, facing the fireplace, so I think we’ll leave it! Plus, we’ve got to make space for the Christmas tree this weekend. No idea where it’ll go. Send any suggestions my way because I am stumped! Hah!

neww13.JPG
neww2.JPG

Adding a bench to the side was one of my favorite ideas that helped the whole thing come together for me, visually. We didn’t know whether to add shelves to this side, cabinets, or what. It was really tricky to figure this side out! When the thought of a bench with storage inside came into play it was just perfect. Bill created a lid that comes up like a piano bench, and it’s the easiest access to our new hidden storage.

neww4.JPG
neww5.JPG
neww12.JPG
neww11.JPG
neww6.JPG

I think I mentioned this in my last post, but link to our actual insert is here, and we are really pleased with the unit. It warms our large open space up very well and is completely safe for little ones, (the glass doesn’t get hot because the warm air is pushed out of a vent only at the top of the unit). The insert itself does not heat up, making it completely safe inside its frame of drywall and 2x4s. The unit is plugged into an outlet accessed inside the storage bench, and we can slide the unit out of the frame anytime we need.

neww9.JPG
neww8.JPG
neww16.JPG
neww15.JPG

That’s it! Hard to measure what a difference this has made to our home. With such an open floor plan I have already been enjoying having the fireplace on while in the kitchen, during homework time, dinner; it’s just been wonderfully cozy.

Speaking of, here’s a sneak peek at our Christmas mantle…

17.jpg

More Christmas coming soon!

Thank you so much for stopping by today!

Chelesa.jpg