Kids Room Converted For Guests

It’s the heaviest travel time of the year, but this year we’re staying put and hosting for a few days between Thanksgiving and Christmas! We love having guests stay with us but frankly, never know where to put them. Our family of five home is a 3-bedroom partial split-level, so with no designated guest room and somewhat close quarters, we have to get clever to host guests comfortably.

Our shared boys’ room has always been the go-to since it’s the larger of the kids rooms, and I recently discovered an unconventional trick to make it more suitable to couples. Here is their typical arrangement:

Old1.jpg

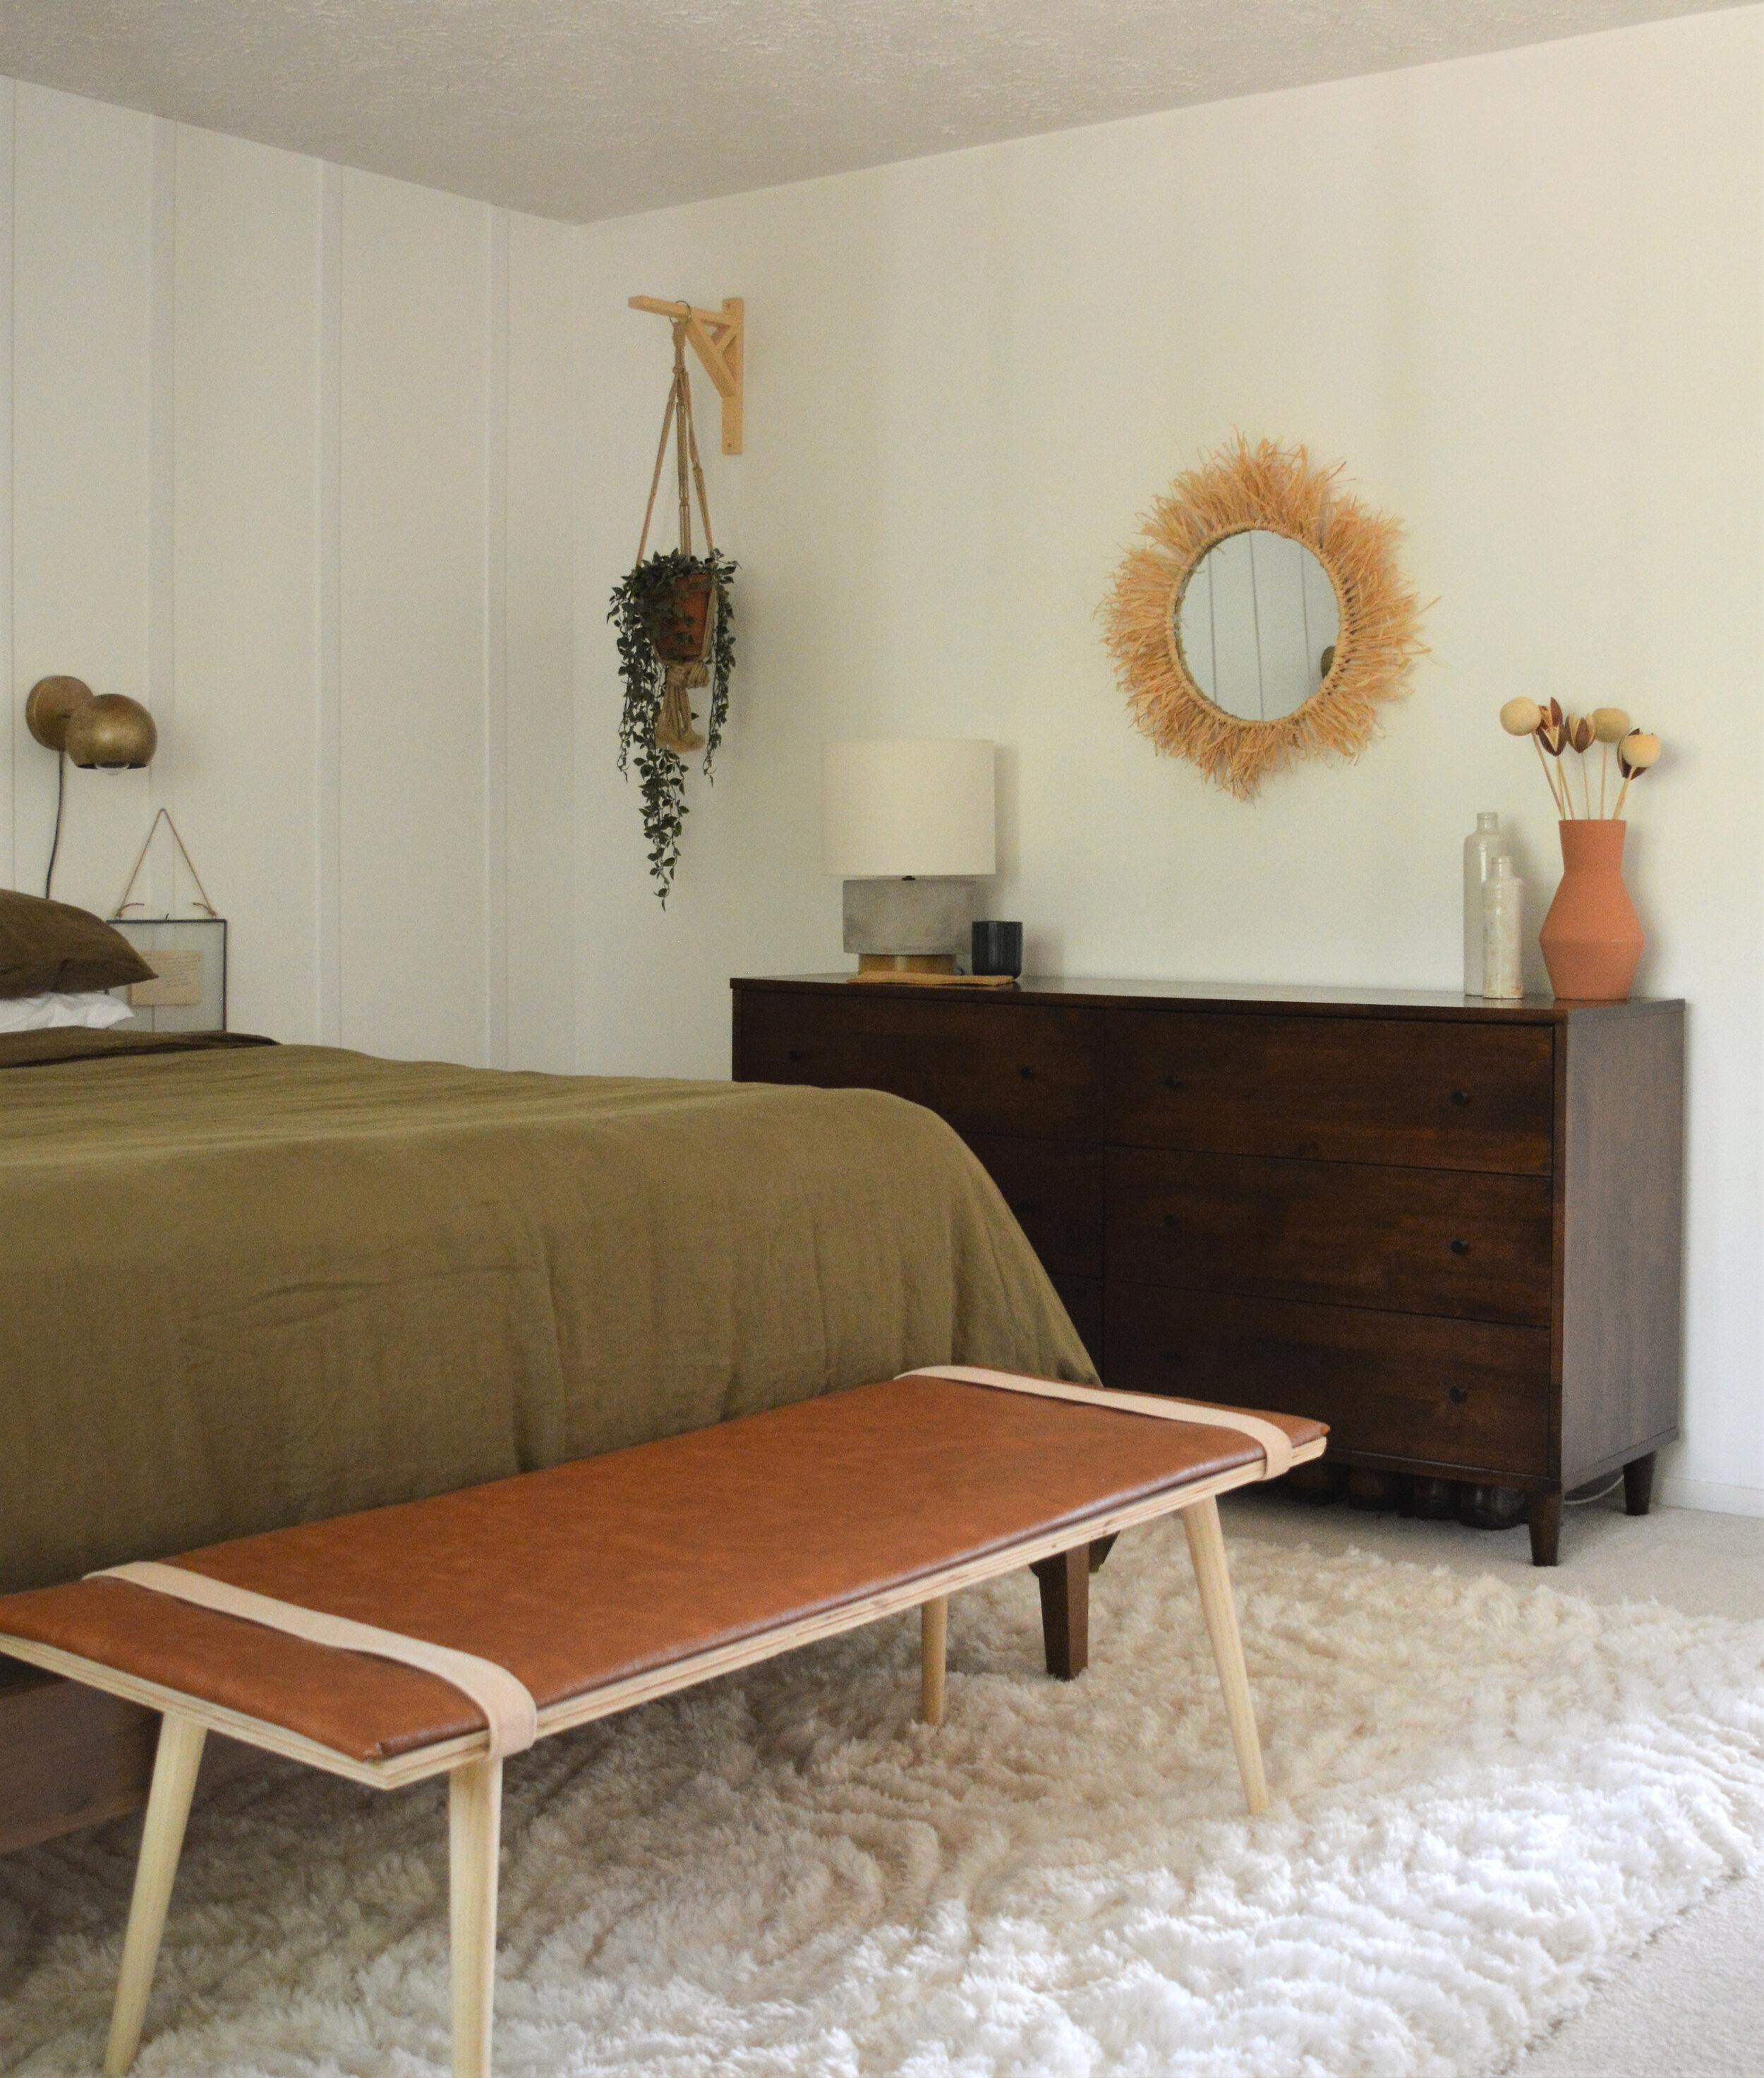
And if I push the twin beds together, we’ve practically got a king with loads of extra floorspace! (granted, the king bed hack is in the corner)

new10.jpg
new2.jpg

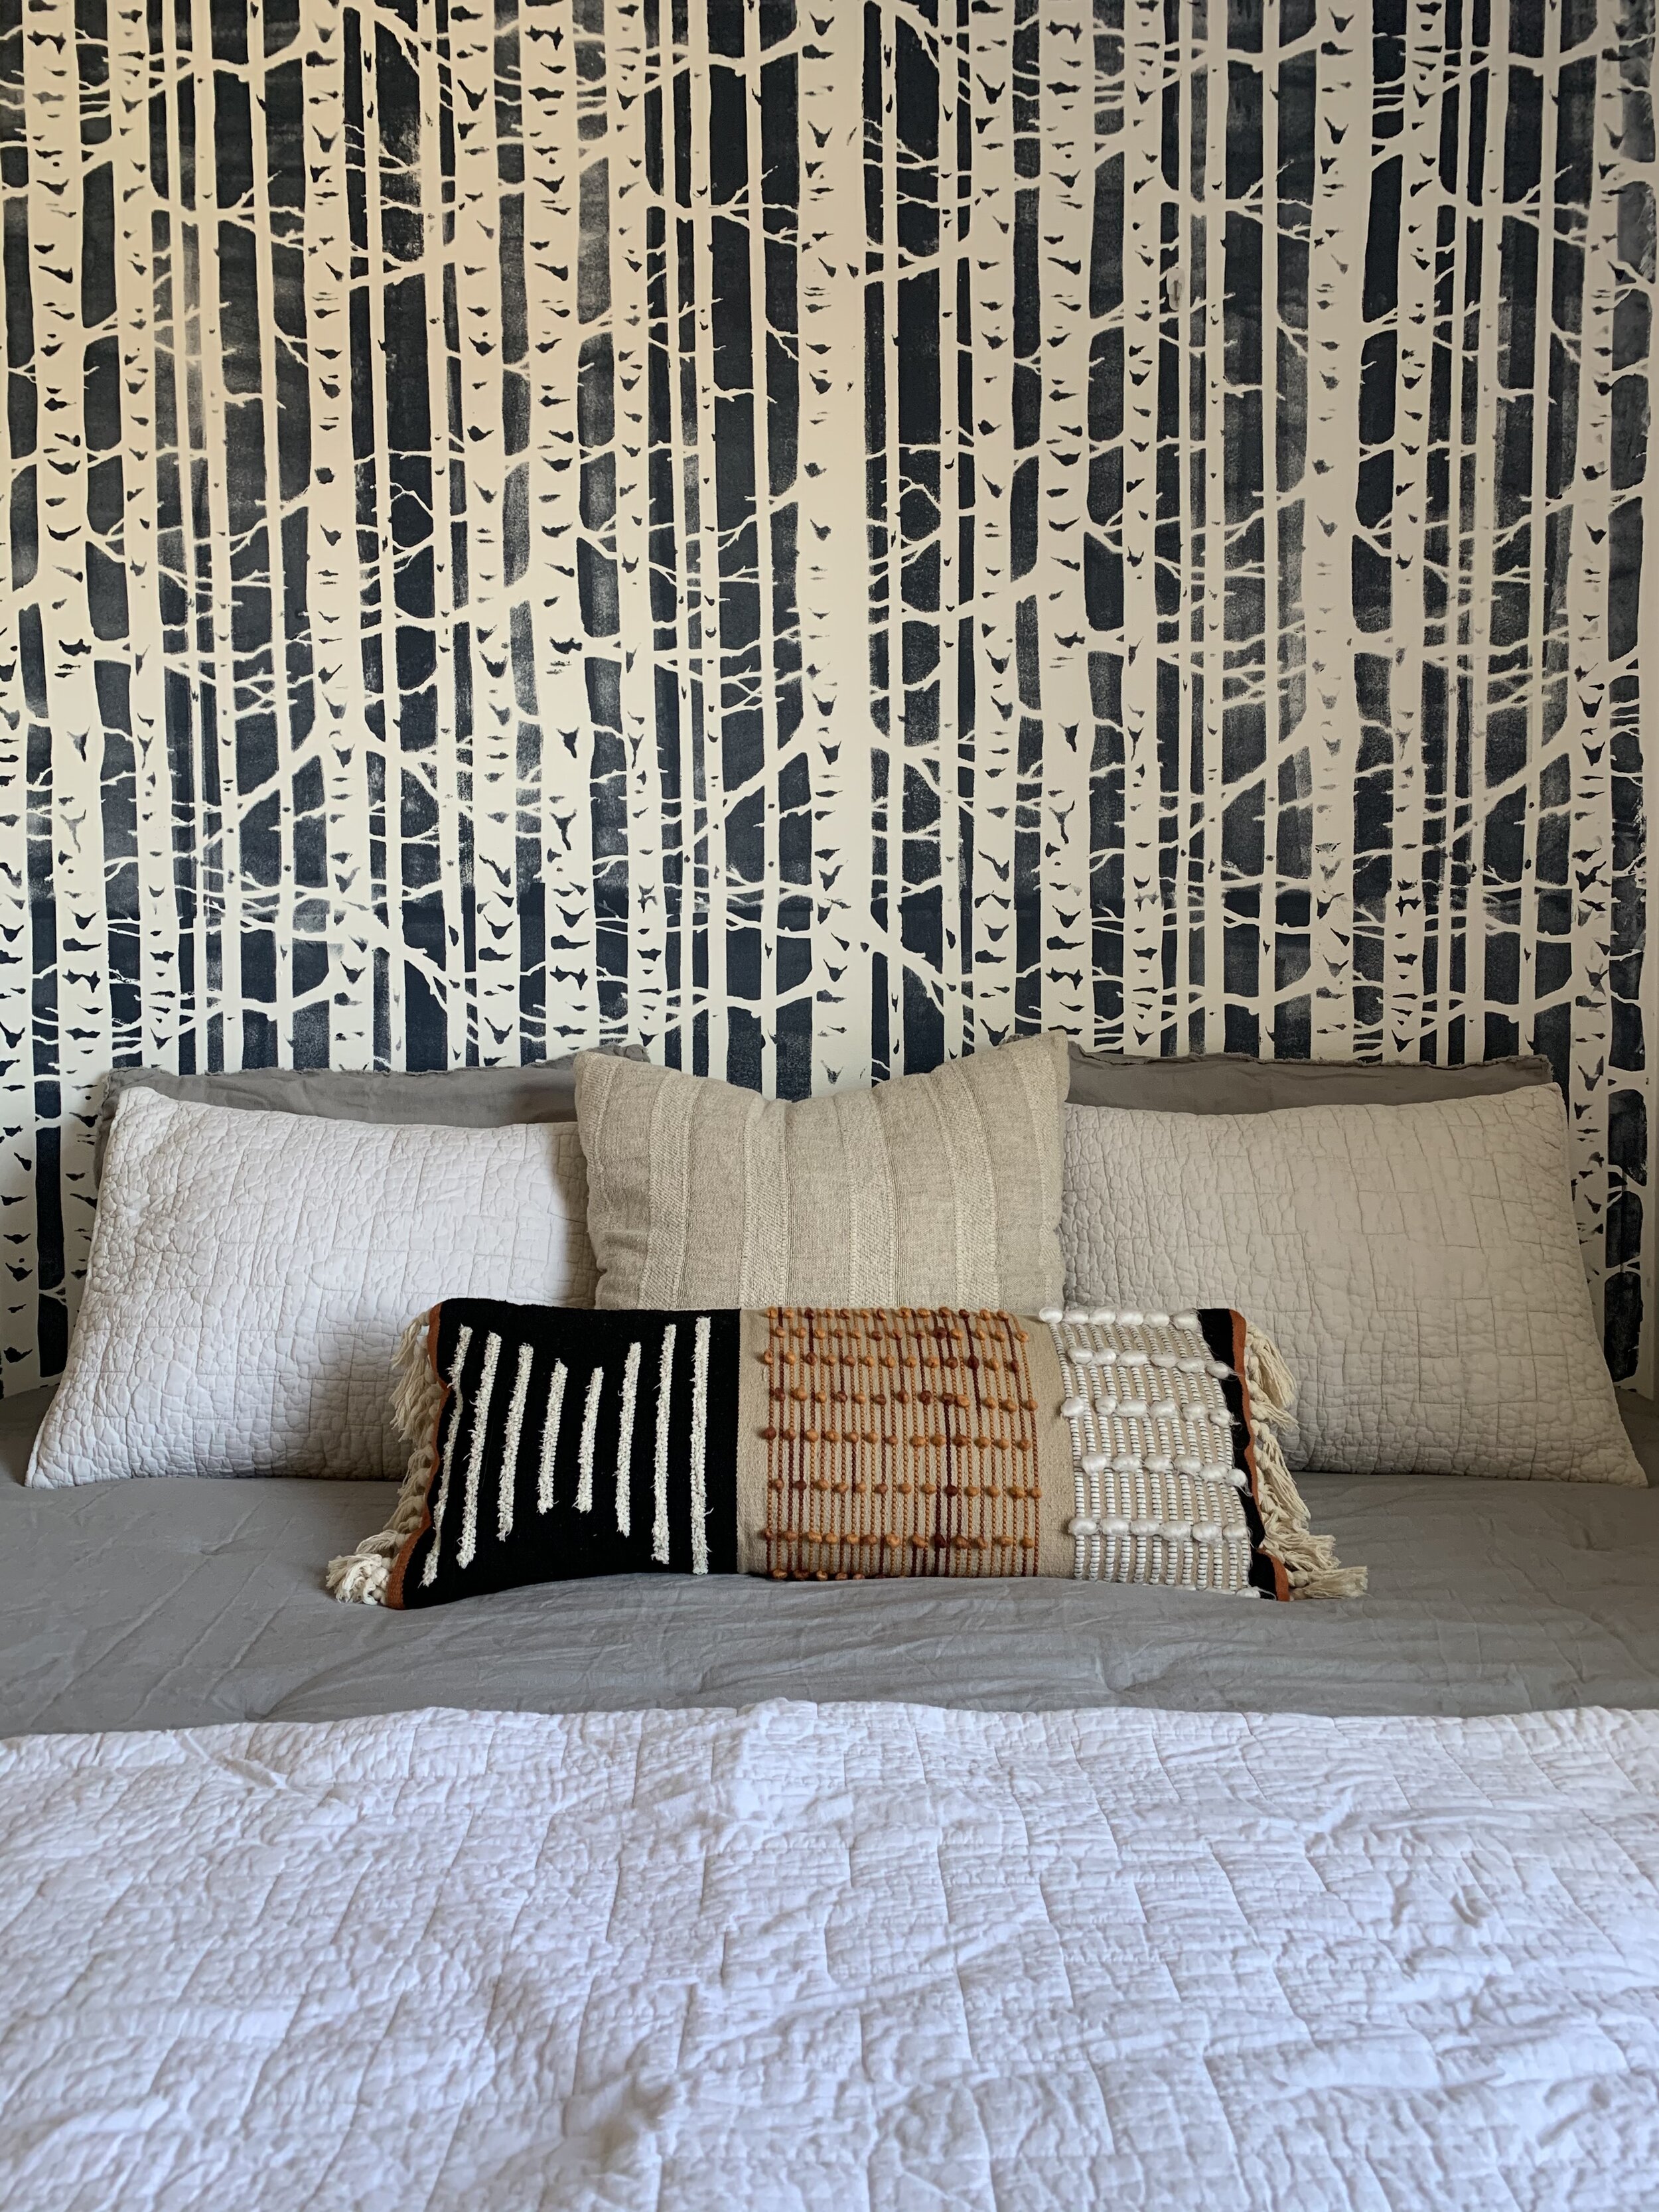
I cover each twin bed with its own fitted sheet, then cover with Queen size top bedding, (flat sheet and comforter), since it’s what I have. There’s not a lot of extra but queen size does do the trick if it’s what you’ve got.

new7.jpg
new4.jpg

I shopped around our home to complete this adult-friendlier space. This room is shared by my sons, 8 years and 10 years, and while I am charmed by their choice of decor and reading material, it is only because I am their Momma. I’m not sure our friends and family would care much for rocks, shark teeth, the Bed Kitty books or 435 cut out paper sharks.

new3.jpg
new1.jpg

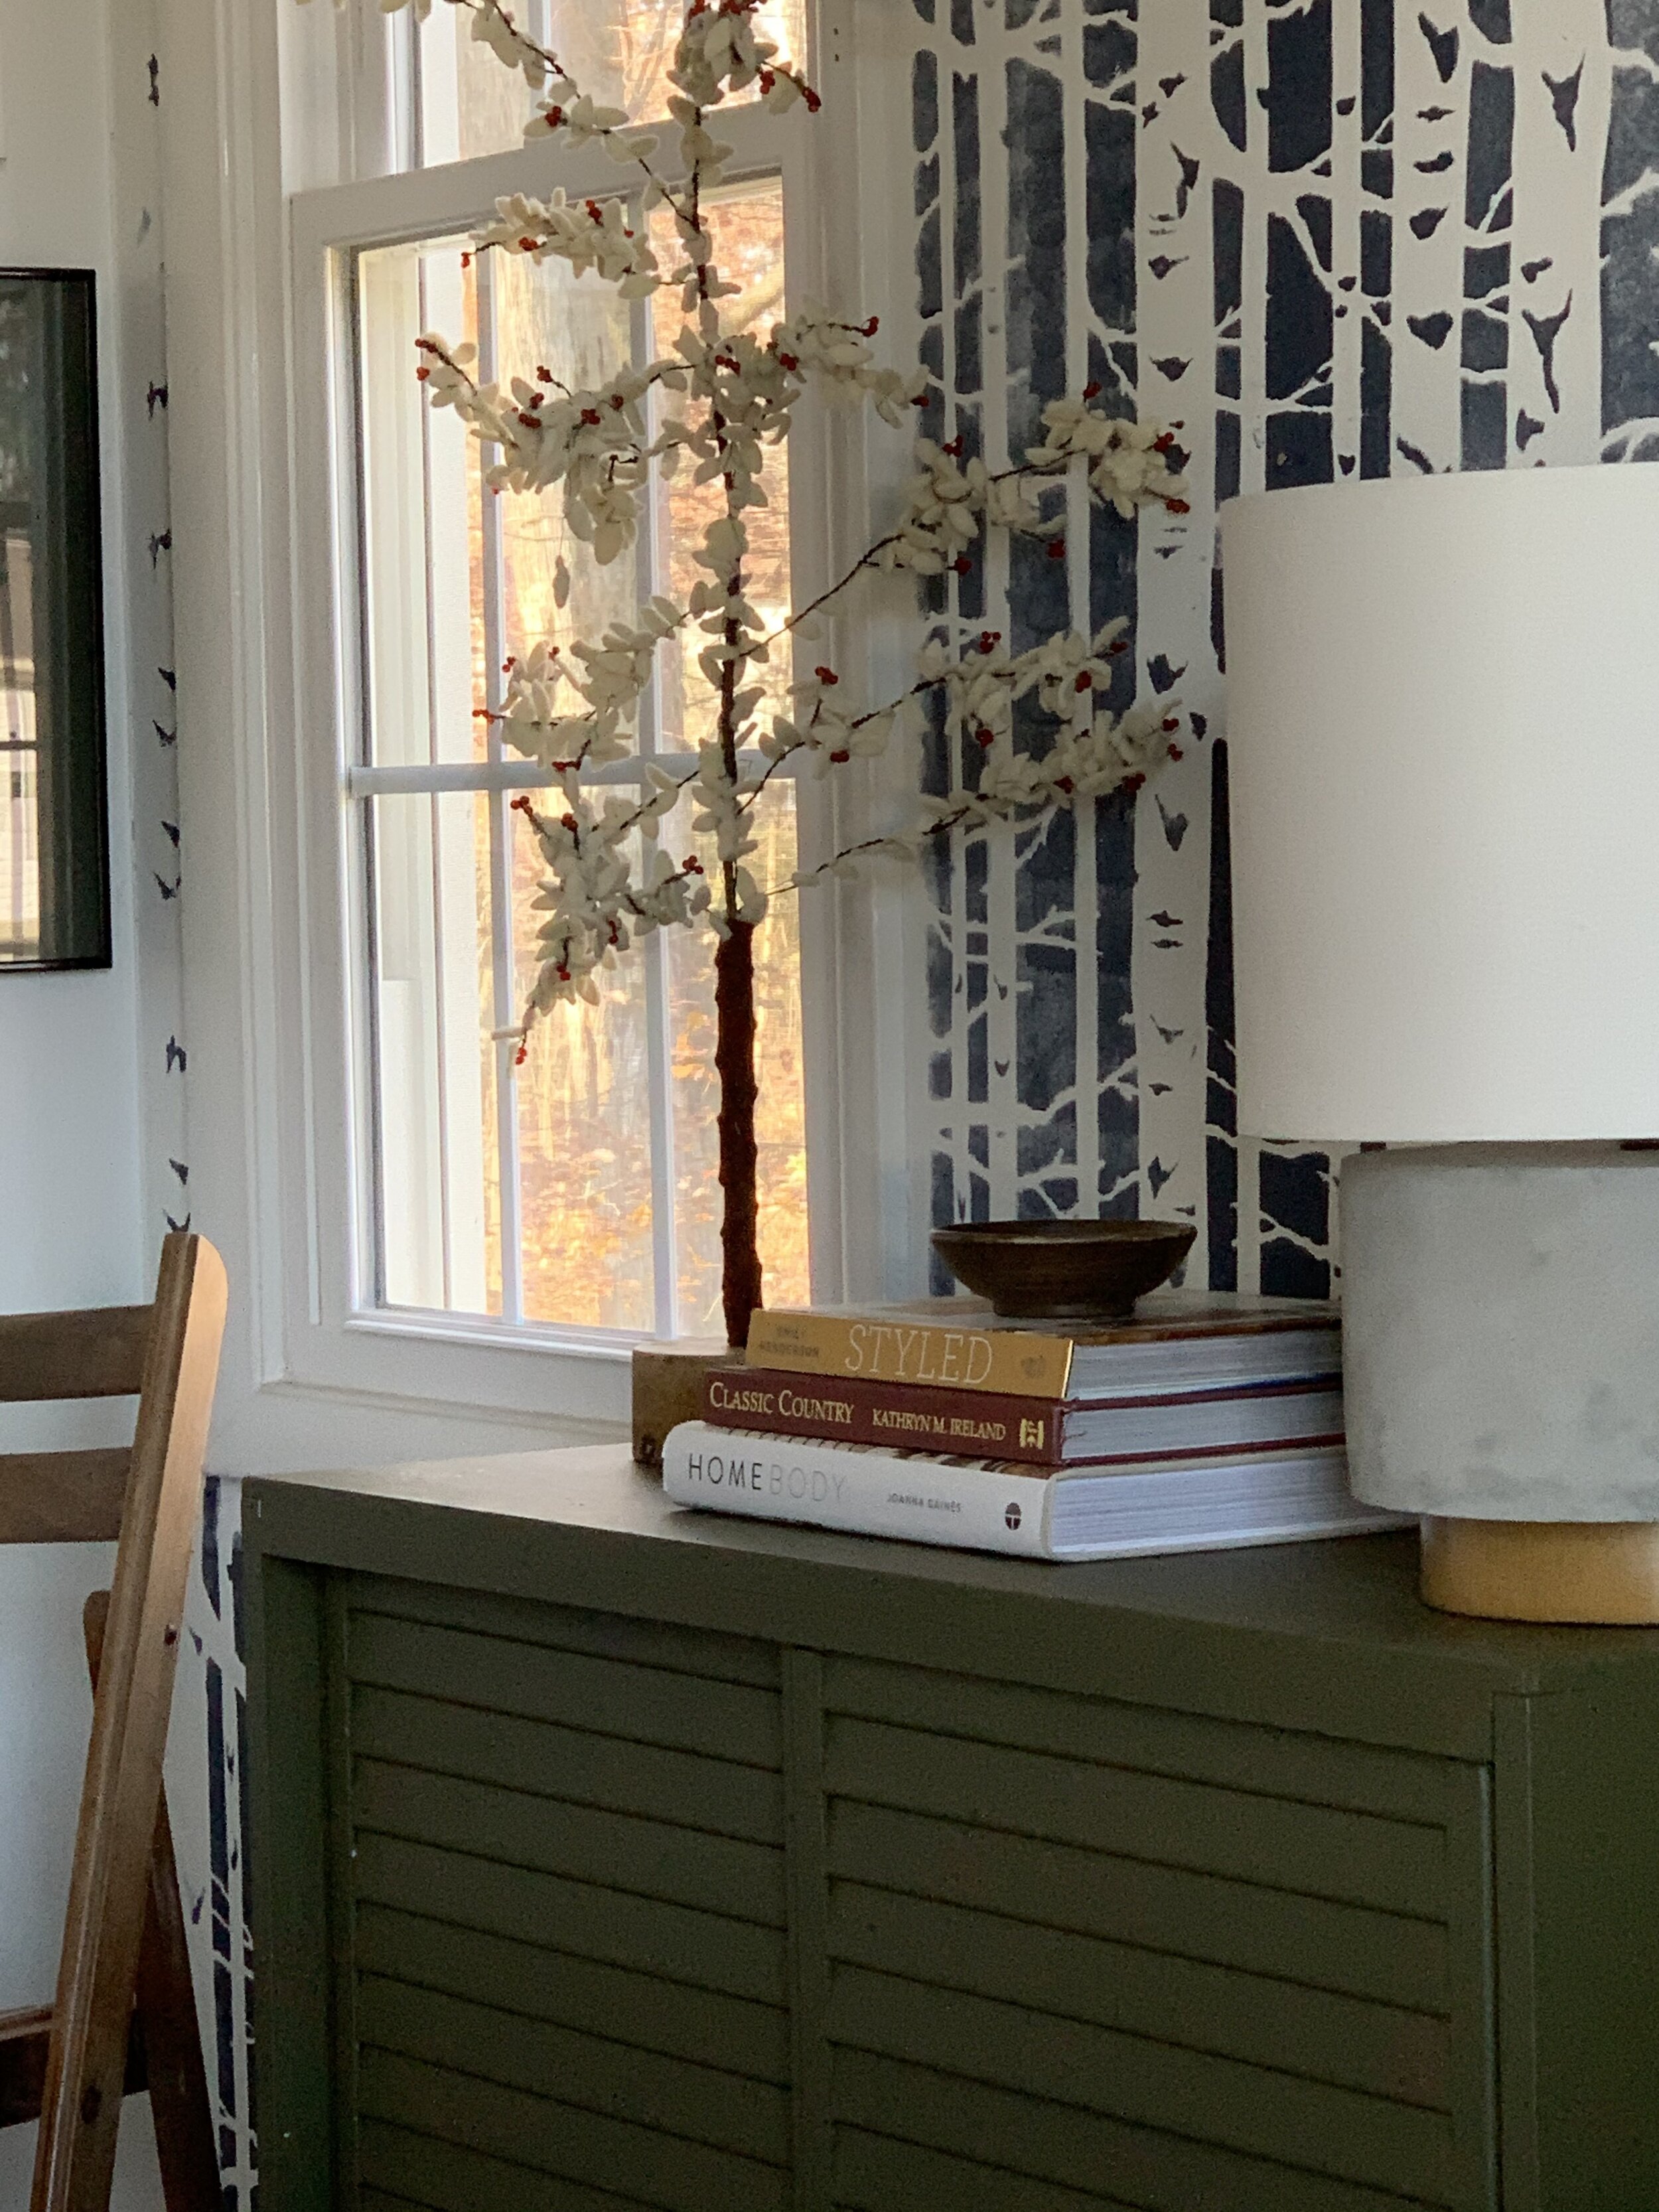
The benefit of pushing the conjoined beds into the corner is it opens up the floor space substantially! I wanted to create this space how I live in a room when I’m traveling, and let me tell you, I settle in. You wouldn’t know the difference between me staying for a night or a month. Hah! The rug, (found here), was sent to us by Home Dynamix and is a really pretty, sophisticated element in this space. Definitely feels a lot more luxurious underfoot than our carpet!

new6.jpg
new8.jpg
new9.jpg

That’s a wrap! Staying or going, we hope you have a wonderful holiday season!

Thank you so much for coming by today!

Chelesa.jpg

Living Room Fireplace Reveal

So tickled to finally get to share our finished fireplace with you all today! It is an absolute dream; I can’t believe this is the same house we moved into 9+ years ago! A few weeks ago I shared our plan and inspiration here, and now that it’s finished it’s even better than I had expected. As with most projects, some of the details evolved as the build came together, but I think it’s worth sharing the plan I had laid out last January. So almost a year ago!

20.jpg

And here’s where we ended up:

neww14.JPG

We could not be more grateful to our dear friend, Bill, who spent the better part of 3 weekends coming over to help us with this. To say he is incredibly skilled is a massive understatement, but beyond that even is his generosity. We were so blessed by his knowledge and willingness to help - and all I did was send him home with bacon! Listen, there’s more where that came from for anyone out there who wants to help the Biebers with home projects. Lol!

neww1.JPG

At the last minute we decided to paint the shelves and bench seat white to let the mantle really stand out. The mantle was removed from our dear friends’ 1960-something fireplace when they started their home renovation. They decided to replace it during their own home reno process, so we lucked out big time - it is SUCH a gorgeous, chunky piece of wood. The years of use have banged it up and faded it’s color and that kind of character is just what our new structure needed.

neww3.JPG

Funny, we moved the sofa to this side of the room, (it was previously against the windows), just to get it out of the way during the construction. It didn’t take long for us to love it this way! The kids said they prefer it here, facing the fireplace, so I think we’ll leave it! Plus, we’ve got to make space for the Christmas tree this weekend. No idea where it’ll go. Send any suggestions my way because I am stumped! Hah!

neww13.JPG
neww2.JPG

Adding a bench to the side was one of my favorite ideas that helped the whole thing come together for me, visually. We didn’t know whether to add shelves to this side, cabinets, or what. It was really tricky to figure this side out! When the thought of a bench with storage inside came into play it was just perfect. Bill created a lid that comes up like a piano bench, and it’s the easiest access to our new hidden storage.

neww4.JPG
neww5.JPG
neww12.JPG
neww11.JPG
neww6.JPG

I think I mentioned this in my last post, but link to our actual insert is here, and we are really pleased with the unit. It warms our large open space up very well and is completely safe for little ones, (the glass doesn’t get hot because the warm air is pushed out of a vent only at the top of the unit). The insert itself does not heat up, making it completely safe inside its frame of drywall and 2x4s. The unit is plugged into an outlet accessed inside the storage bench, and we can slide the unit out of the frame anytime we need.

neww9.JPG
neww8.JPG
neww16.JPG
neww15.JPG

That’s it! Hard to measure what a difference this has made to our home. With such an open floor plan I have already been enjoying having the fireplace on while in the kitchen, during homework time, dinner; it’s just been wonderfully cozy.

Speaking of, here’s a sneak peek at our Christmas mantle…

17.jpg

More Christmas coming soon!

Thank you so much for stopping by today!

Chelesa.jpg

DIY Raffia Mirror

How often is a DIY project inspired by something you’ve seen that is just a bit too far out of your budget? Totally been there - in fact, that was the motivation behind today’s Raffia Mirror tutorial! I’ve been crushing hard on the Panama Mirror from Anthropologie for quite a while now, but could not justify the price tag. A quick Pinterest search for a ‘diy raffia mirror’ lead me to this awesome tutorial by Dossier! I wanted different proportions so ended up having to use some different supplies, which is why we’re here today!

15a.jpg

Supplies:

27.jpg

Instructions

  • Cut ~13” lengths of raffia

  • Grab a small handful of about 7 strands

  • Tie around the embroidery hoop as shown below

28.jpg
29.jpg

Once the embroidery hoop is full of tied raffia, hot glue the hoop to the outside edge of the mirror.

And that’s it!

25a.jpg

For less ~$20 and 90 minutes of time, it was quite the satisfying project for what I intended. I wanted a mirror for Matt’s dark dresser, (found on Facebook Marketplace), that balanced out the heavy ‘weight’ of the piece. The inspired Anthro mirror is exactly what I had in mind and this scaled-down version satisfies.

13-1.jpg
23a.jpg
24a.jpg

Let me know if you decide to make this! I would love to see how it turns out!

Thank you so much for coming by today!

Chelesa.jpg