{burlap banner from atcompanyb on Etsy}
Last year was a cup runneth over kind of year for me. The blessings of 2012 were so all over the place I couldn't even begin to start listing them off. If you have read this blog at all in the last year then I am guessing you have some remote interest in furniture refinishing, so I'll stick with that one.:) A few years ago, the idea of having a furniture refinishing business was just that; an idea. At the start of 2012 that idea became a reality and my cozy little blog was born. I held my first showroom sale straight out of our garage in February, selling pieces I had been working on since my youngest, Mason, was born the previous spring. From that point forward it's been a whirlwind of custom orders, meeting fantastic people, and constantly challenging, (and surprising) myself!
What I learned in 2012 about pursuing this business:
~Just go for it.
~Life is too short to wait for the right time, more time, enough funds, enough energy.
~Motivation and the excitement of trying are enough to overcome the challenges.
~There will always be challenges. That's part of life.
~Hard work is good for my soul.
~Where there is Will there is a Way...this one is a major cliche, but a repetitive lesson in this particular venture
~It's a good thing for my kids to see me work hard for this dream.
~I hope they learn that it's okay to dream big.
~The Lord chose to give me this most awesome guy, Matt, to walk through life with, and without his constant encouragement, support, and crazy wood-working skills, this dream would still just be a dream.
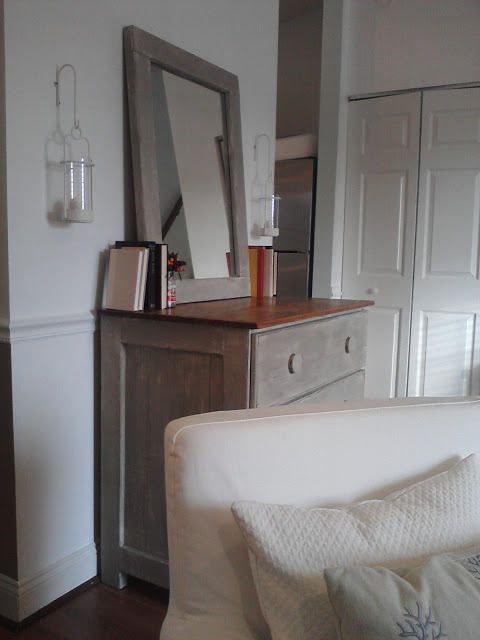
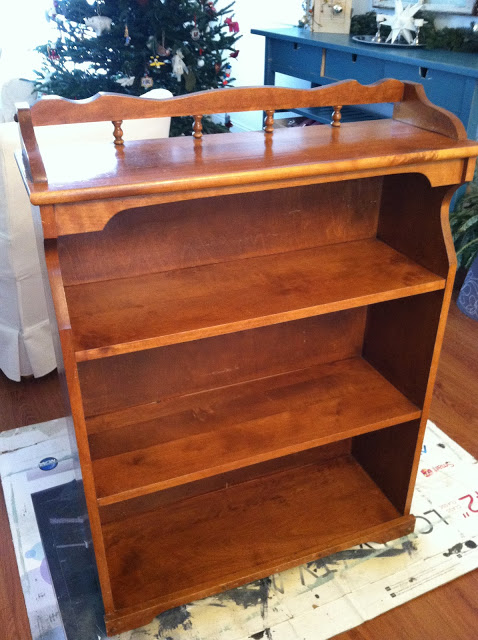
My first refinished piece of 2013
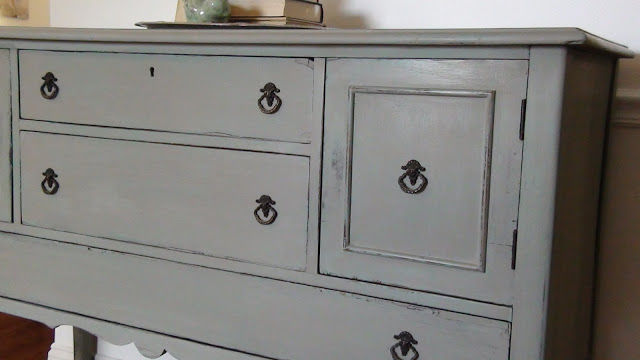
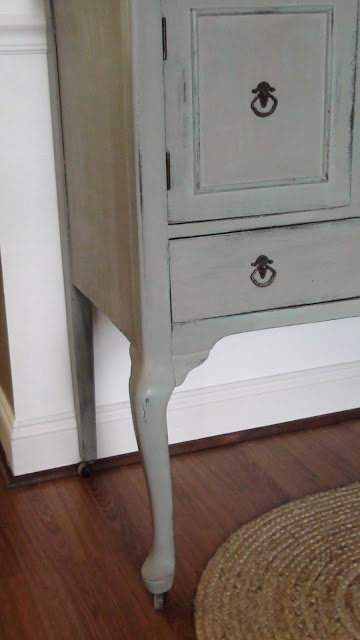
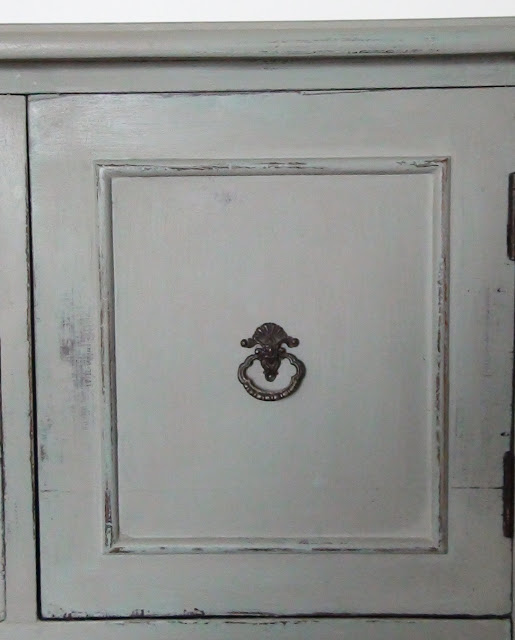
is nothing spectacular, but is rather heartfelt. It's a simple piece for one of Shire's closest little friends who has recently moved to a big girl room to make space for her soon-to-arrive baby sister. This sweet pea has tons of books which need an organized spot of their own, so when I got the ideal measurements of the space in the room, I jumped on craigslist. This bookcase was one of the first that I saw and after showing it to my friend who gave it two thumbs up, I snagged it. My friend's request was for creamy white and distressed, so that's what I did :) I can't wait to see it in this sweet little girl's room!
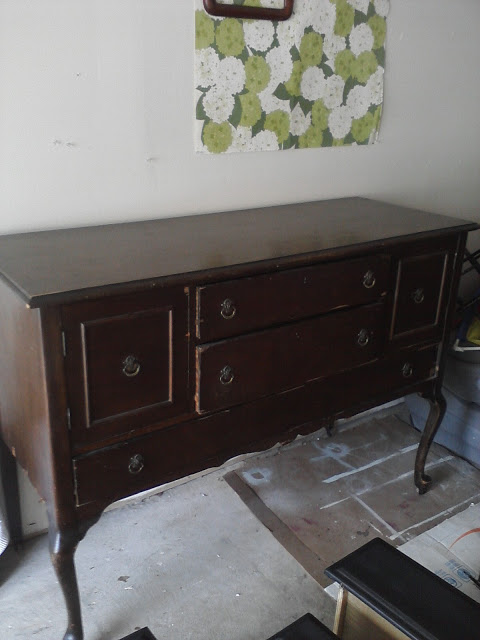
{Before}
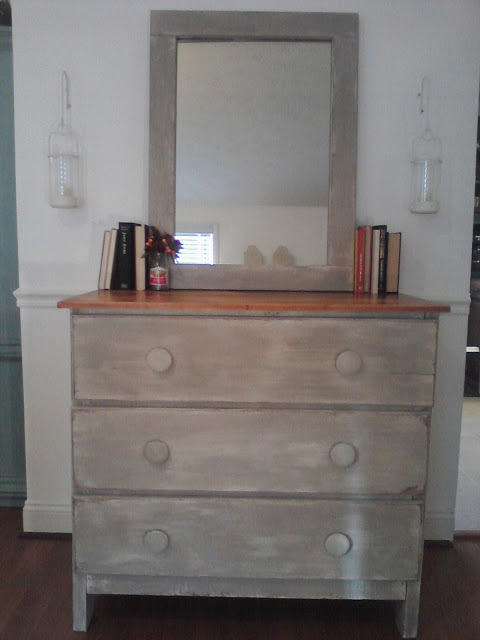
{AFTER!}


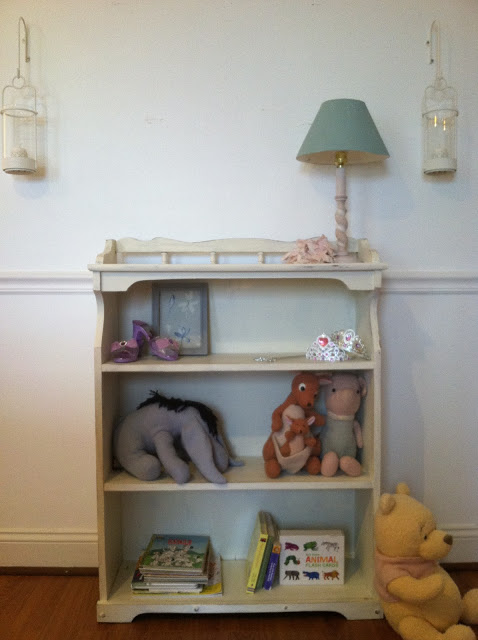
The process:
~Smoothed the surface with 320 grit sandpaper
~Painted two coats of Annie Sloan's Old White
~Lightly distressed using a medium sanding sponge
~Sealed using a clear wax, (I like to use a lightly damp kitchen sponge, then wipe it through the wax and rub it evenly over my piece. It gives a very thin, smooth coat. Then I can reapply as necessary)
There are many pieces still waiting for me in the garage as I type this, but what a sweet little ditty to kick off the new year! I wonder where this dream will go in 2013 :)
What are your dreams/goals/interests for 2013? Do you dare share for all to see? :)
~Chelsea
This post was originally featured on Chelsea's Garage, now affectionately known as StyleMutt!